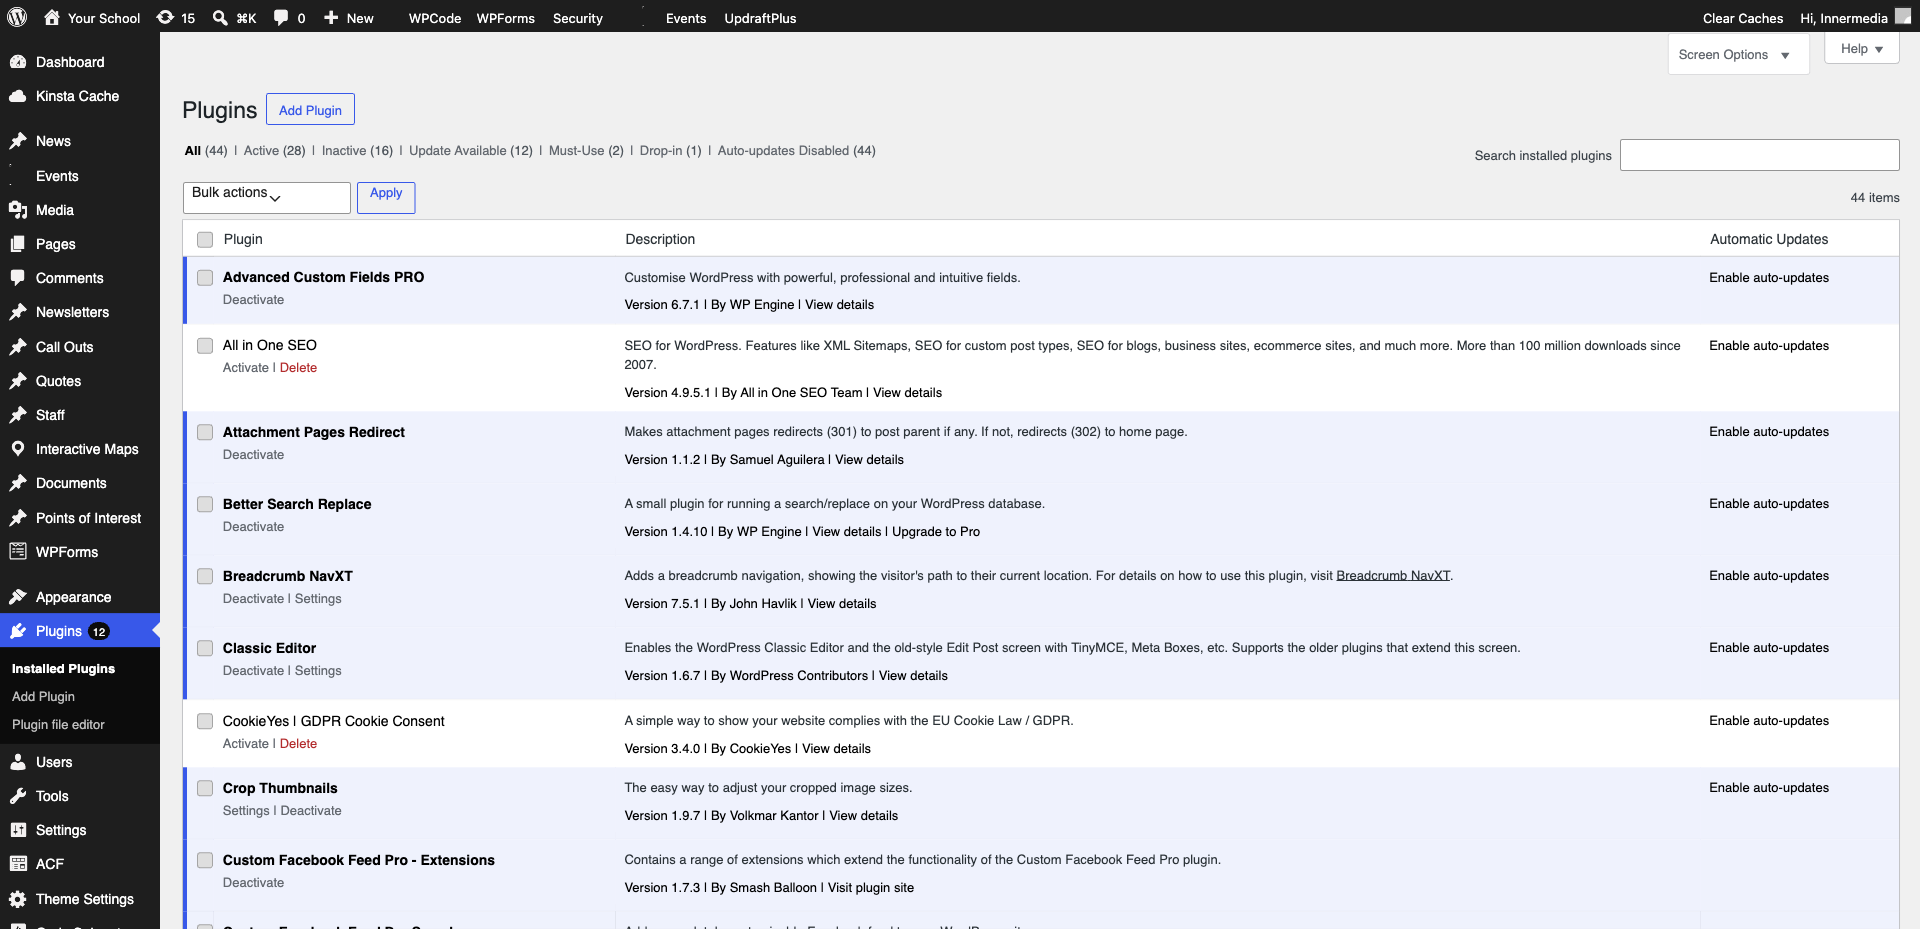
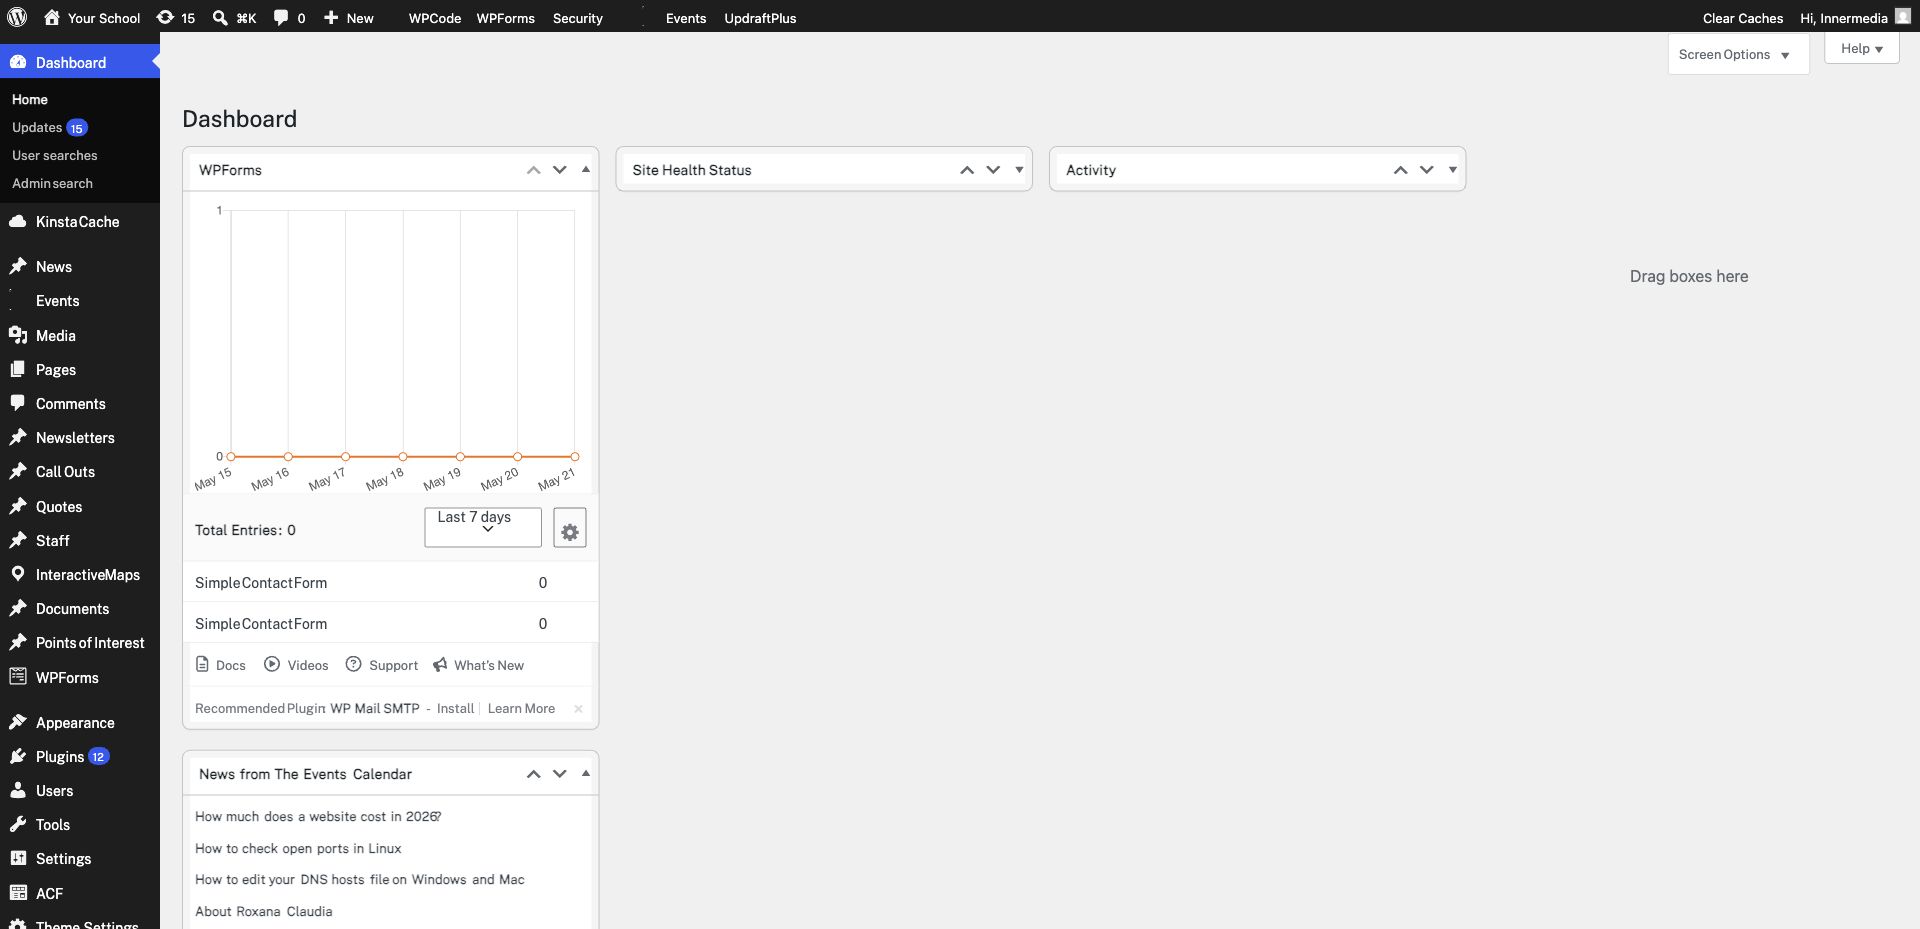
WPForms
Go to WPForms → Add New in your dashboard. Name your form (e.g. “Contact Us”) and choose the Simple Contact Form template to get started quickly, or select Blank Form to build from scratch.
The template comes with Name, Email, and Message fields. To add more, drag fields from the left panel — such as Phone, Dropdown, or Checkbox. Click any field to edit its label, description, placeholder, or required setting.

Click Settings → Notifications in the form builder. The default notification sends submissions to your admin email. Change the Send To Email Address if you want a different recipient. You can also customise the email subject and message.

Click Settings → Confirmations. Choose Message (shows text on the same page), Show Page (redirects to a WordPress page), or Go to URL (redirects to any link). For most contact forms, a simple thank-you message works well.
Click Save, then Embed at the top of the form builder. Choose an existing page or create a new one. WPForms will insert the form block automatically. Update the page and preview to confirm everything looks right.
Completed
If you are still experiencing issues, our support team is here to help.
Was this article helpful?