Editing Buttons & Links in Elementor
Click on the button you want to edit in the page canvas. The left panel will switch to the Button widget settings showing the Content, Style, and Advanced tabs. You’ll see the button text, link URL, alignment, and icon options.
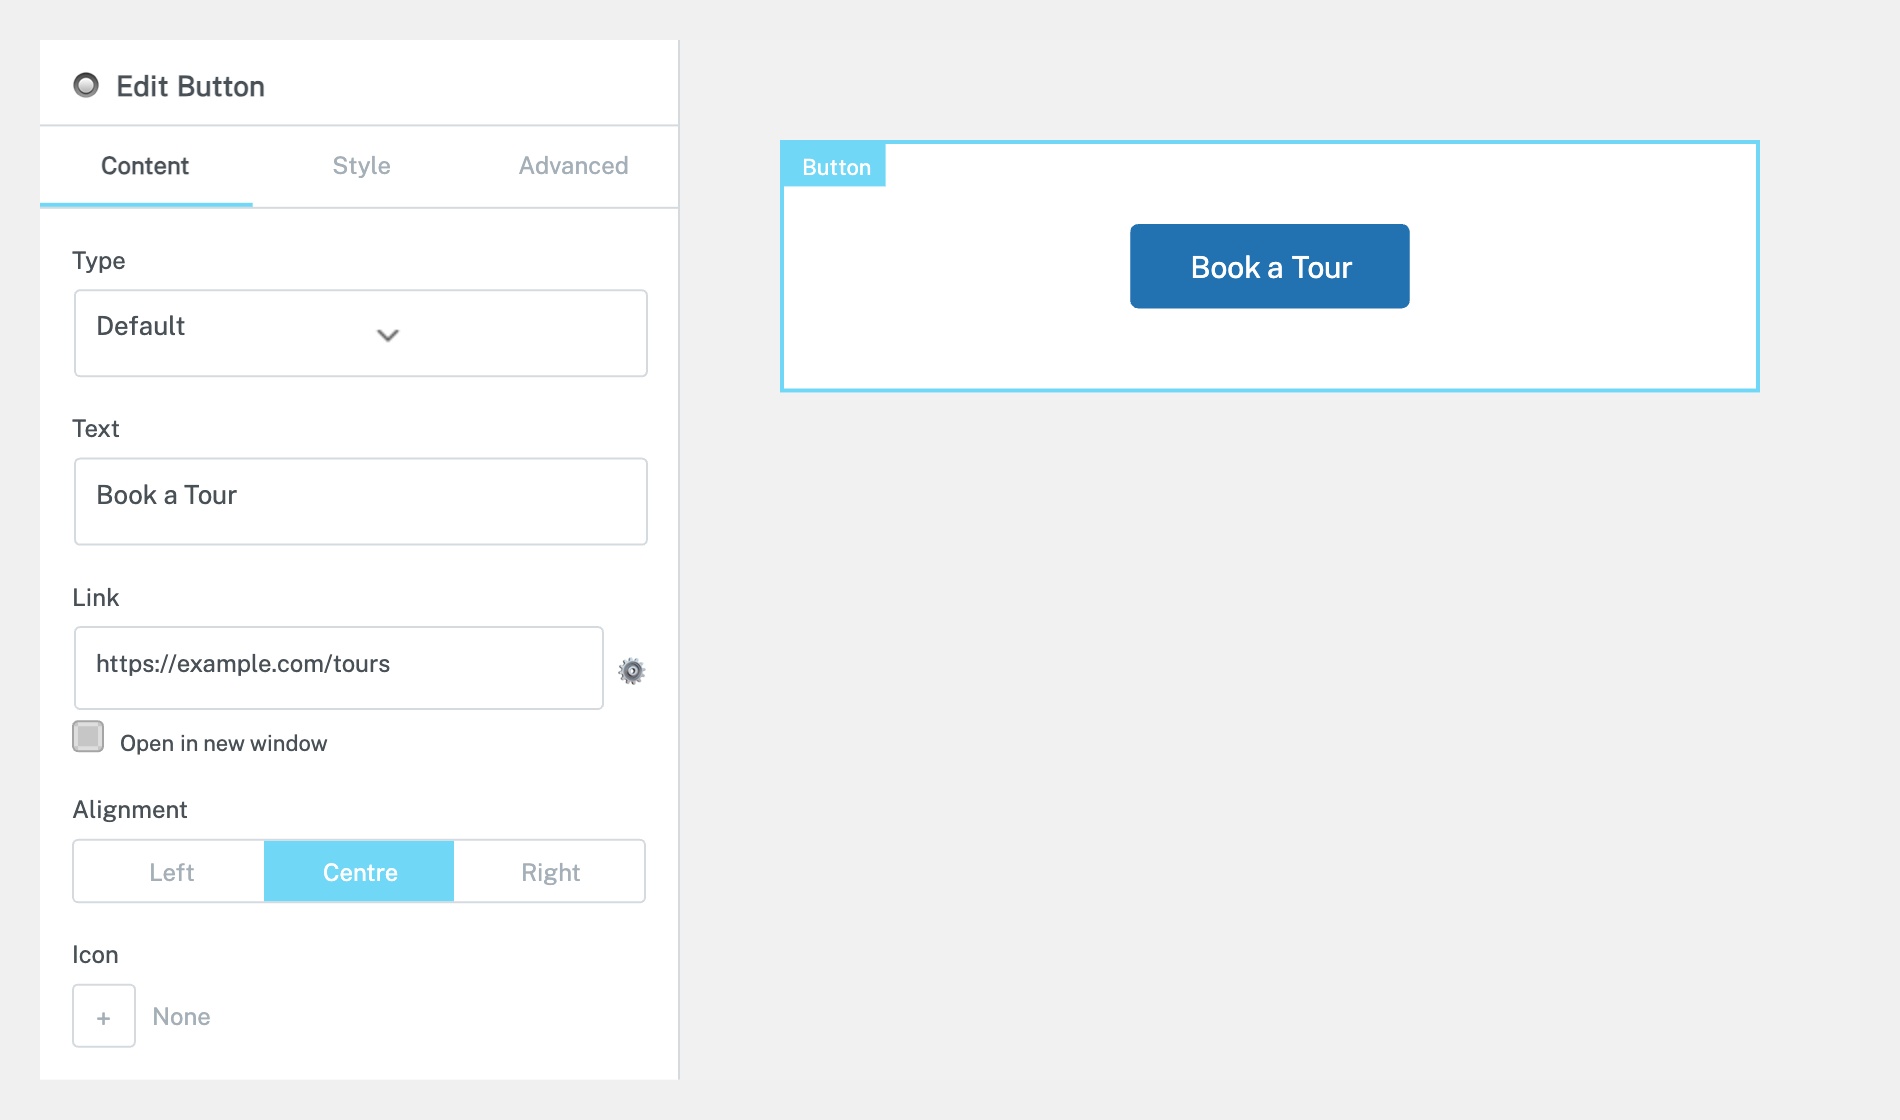
Under the Content tab:
Text — Type the new button label (e.g. ‘Book a Tour’, ‘Apply Now’, ‘Contact Us’).
Link — Enter the destination URL. Click the gear icon next to the URL field to set whether the link opens in a new tab or the same window. You can also link to a section on the same page by entering #section-id.
Icon — Optionally add an icon before or after the button text.
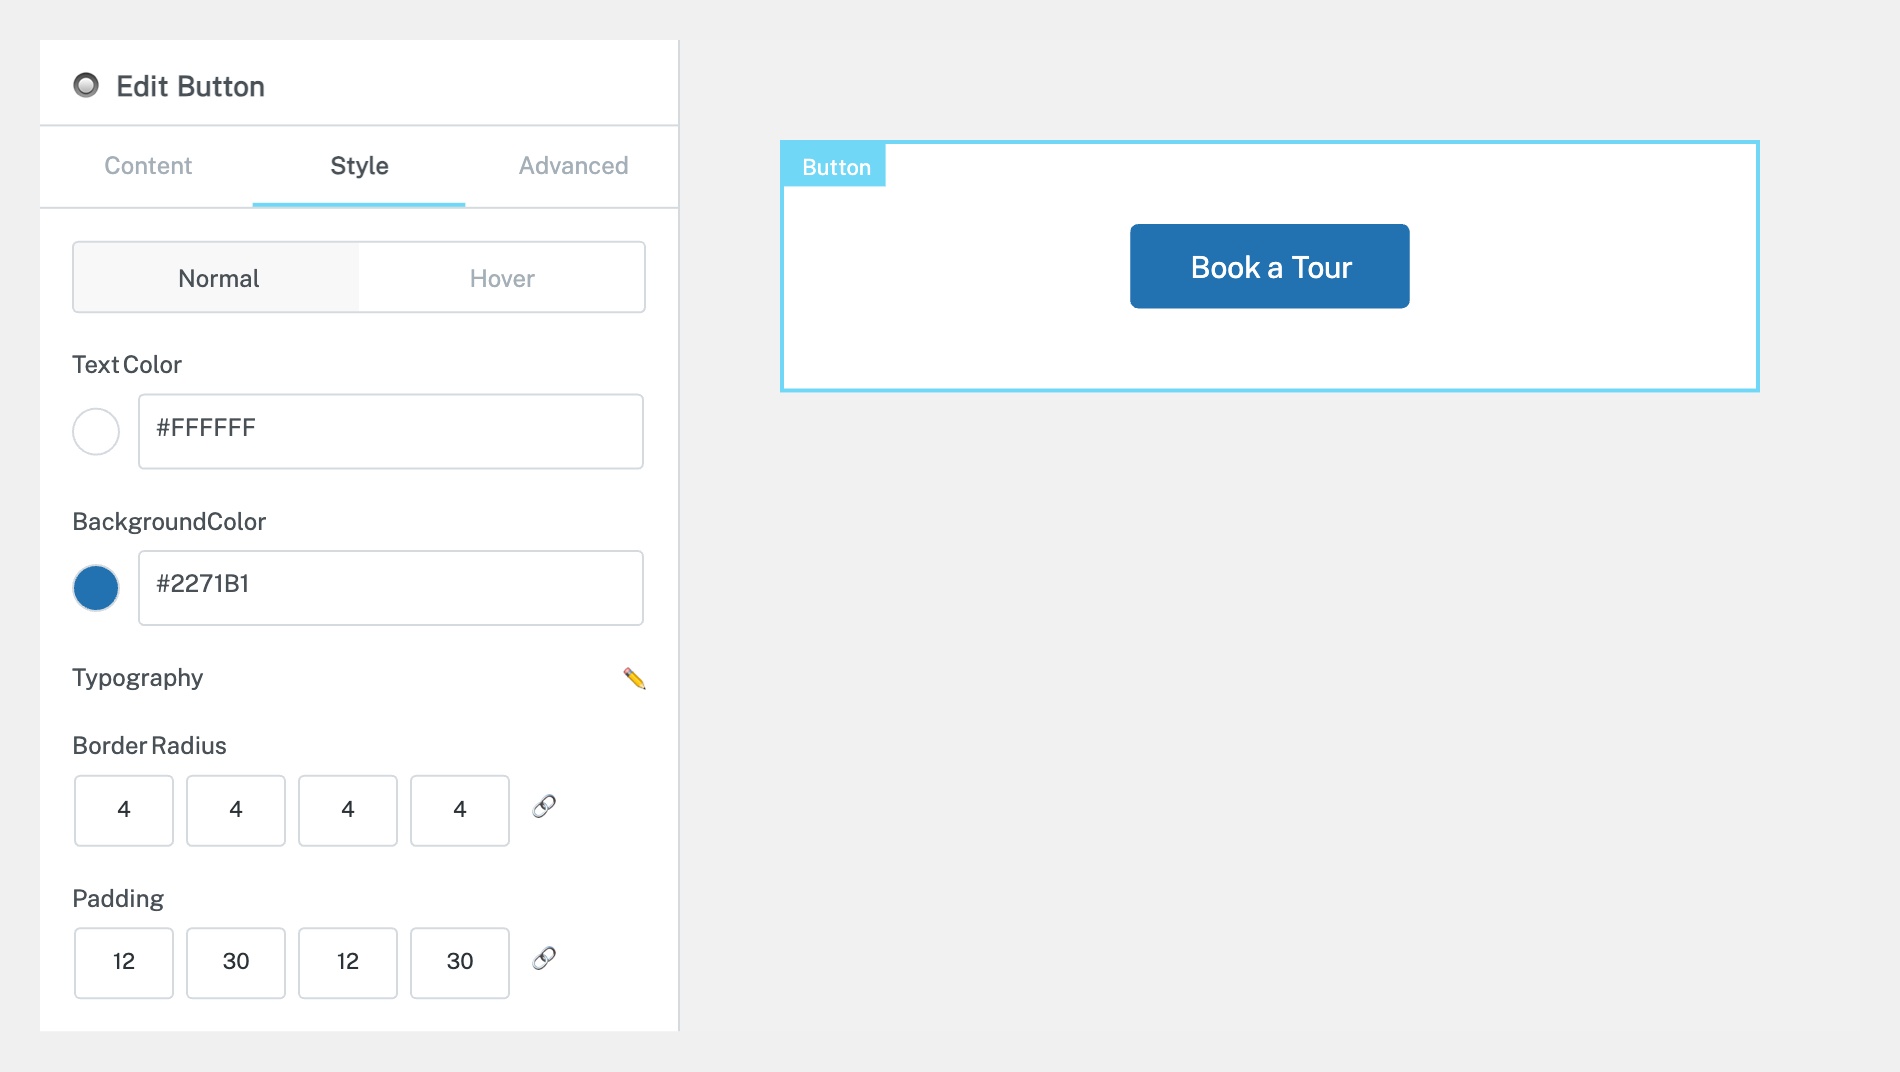
Click the Style tab to change how the button looks:
Text Color — Set the colour of the button text for both Normal and Hover states.
Background Color — Set the button’s background colour.
Typography — Change the font size, weight, and family.
Border Radius — Increase for rounder corners, or set to 0 for sharp edges.
Padding — Adjust the spacing inside the button around the text.
Click Update to save when finished.
Completed
If you are still experiencing issues, our support team is here to help.
Was this article helpful?