Processing Orders
Go to WooCommerce → Orders in the WordPress admin sidebar. This shows a table of all orders with columns for Order number, Date, Status, Billing name, Ship to, and Total. The most recent orders appear at the top by default.

At the top of the orders list, you’ll see status filter links: All, Pending payment, Processing, On hold, Completed, Cancelled, Refunded, and Failed. Click any status to filter the list. The number in brackets shows how many orders have that status. ‘Processing’ orders are the ones that need your attention — they’ve been paid and are awaiting fulfilment.

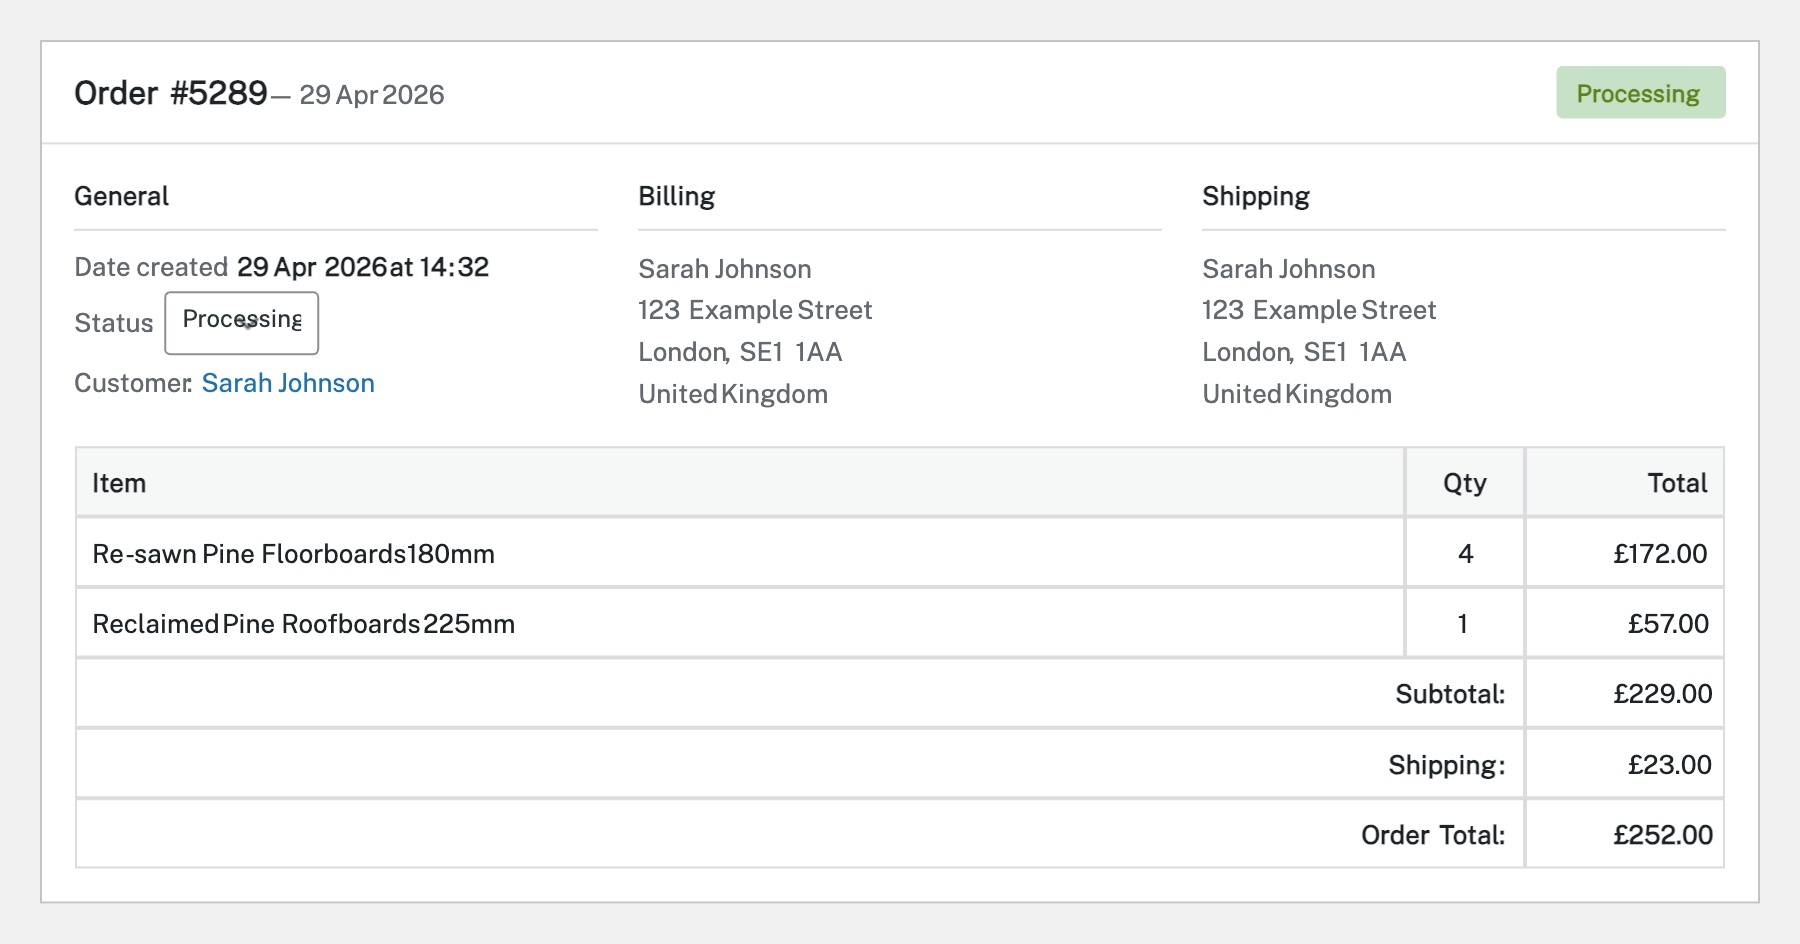
Click any order number to open the full order detail page. Here you’ll see the items ordered (with quantities and prices), billing address, shipping address, payment method, and the current order status. The right-hand sidebar shows order actions and notes.
In the order detail page, use the Status dropdown in the Order Details box to change the order status. Common workflows: move from Processing → Completed once you’ve shipped the items, or Processing → On hold if you need to pause fulfilment. After selecting the new status, click Update to save. The customer will automatically receive an email notification about the status change.
To refund an order, open the order detail page and scroll to the items section. Click the Refund button below the order items. Enter the refund amount for each item (or a custom amount), add an optional reason, then click Refund manually (to record it without processing payment) or Refund via [payment gateway] (to automatically return the money). The order status will update to ‘Refunded’ once processed.
Completed
If you are still experiencing issues, our support team is here to help.
Was this article helpful?