Adding a New Product
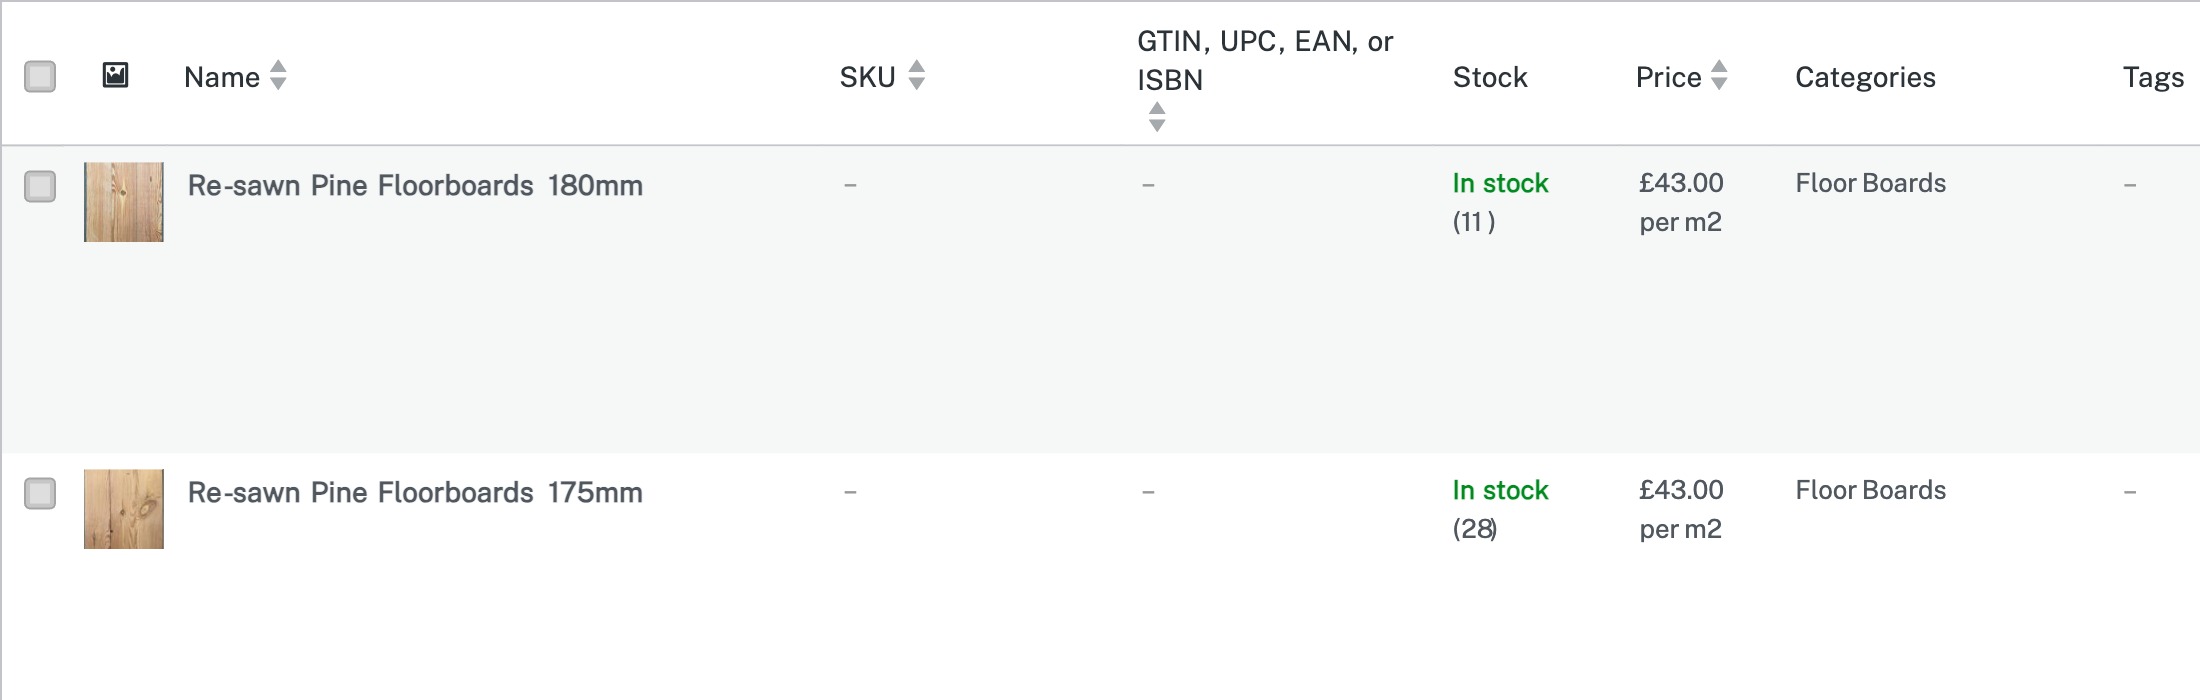
In the WordPress admin sidebar, click Products to see your existing product list. From here, click the Add New button at the top of the page (or use Products → Add New directly from the sidebar). This opens the product editor where you’ll fill in all the details for your new product.
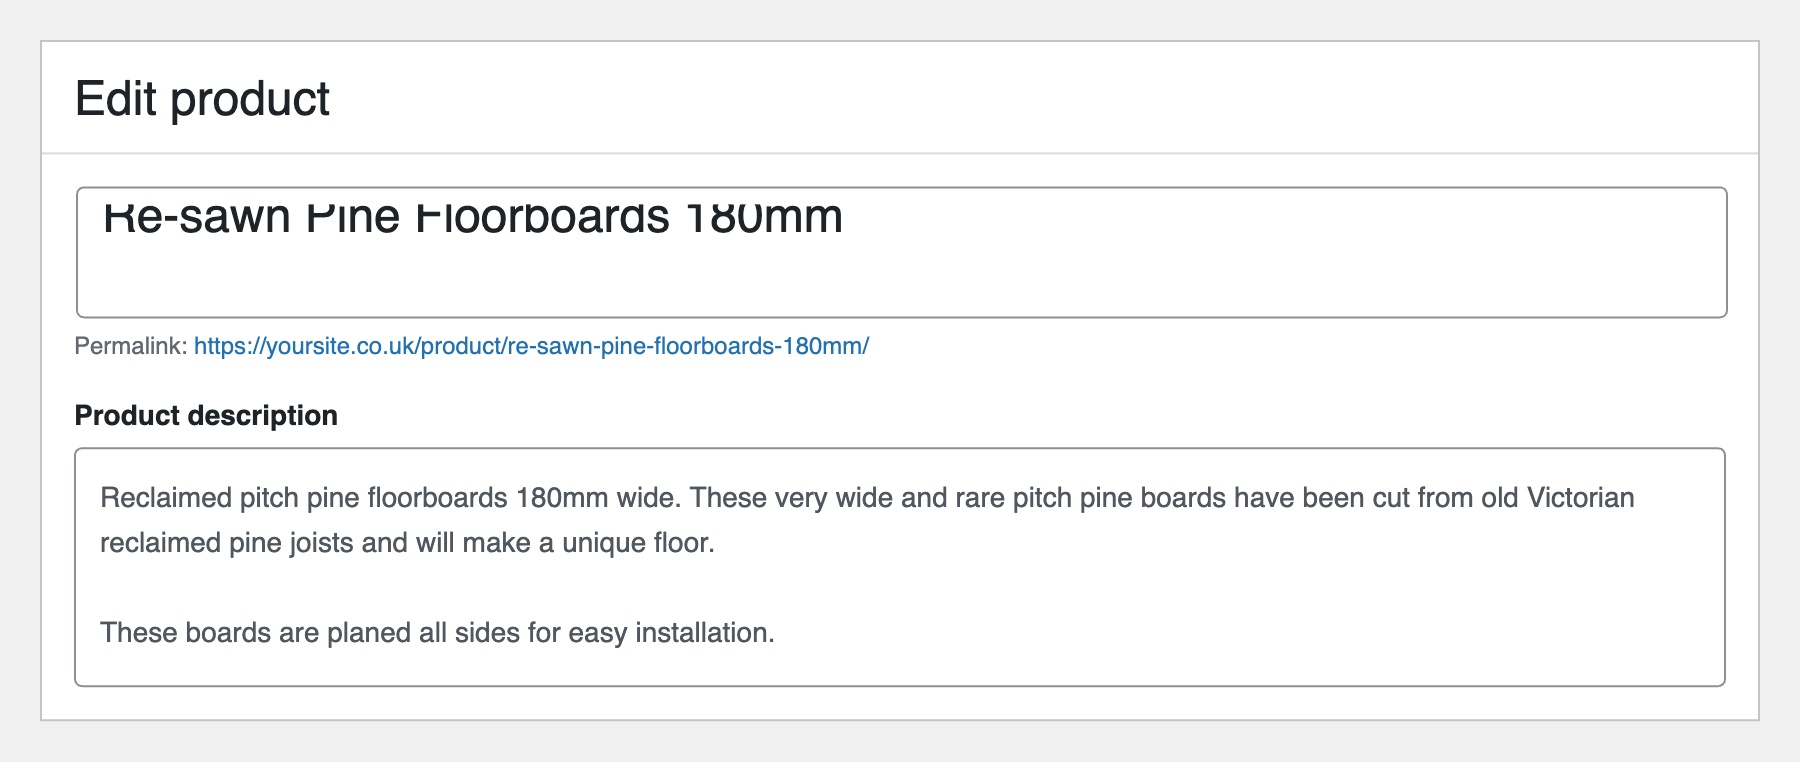
At the top of the product editor, enter your product name in the title field — this is what customers will see on your shop page. Below it is the main description editor where you can add a detailed product description with formatting, images, and links. This long description typically appears on the product’s individual page.
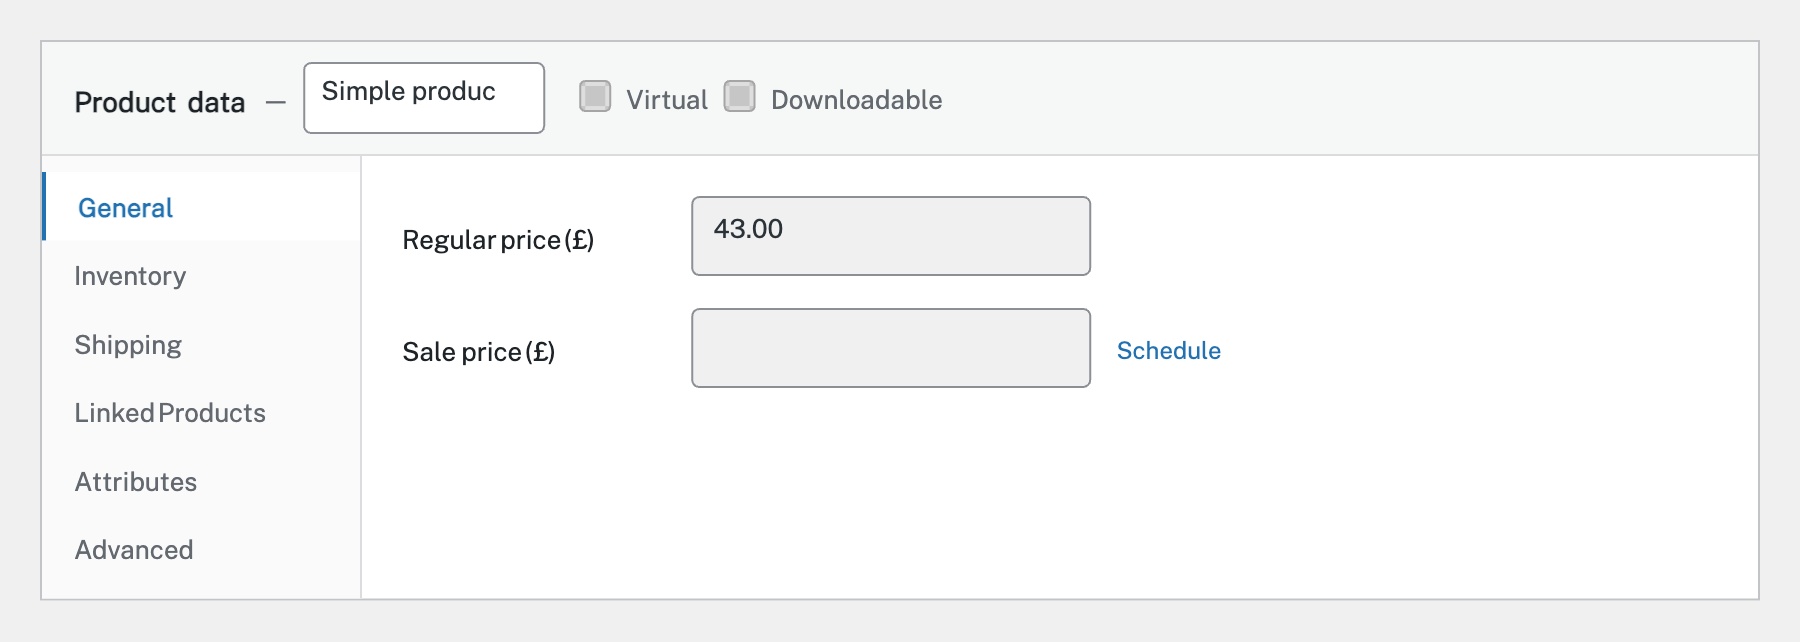
Scroll down to the Product data panel. On the General tab, enter the Regular price — this is the standard selling price. If you’re running a promotion, you can also set a Sale price with optional start and end dates by clicking ‘Schedule’. The product type dropdown at the top lets you choose between Simple, Grouped, External/Affiliate, or Variable products.
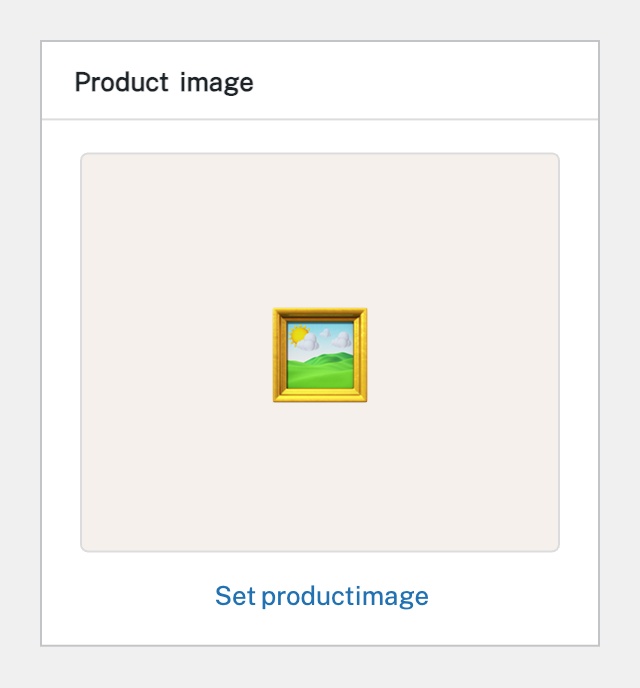
On the right-hand side of the editor, find the Product image box. Click Set product image to open the Media Library. You can upload a new image or select an existing one. This is the main image shown on the shop page and at the top of the product page. Below it, you can also add a Product gallery with additional images.
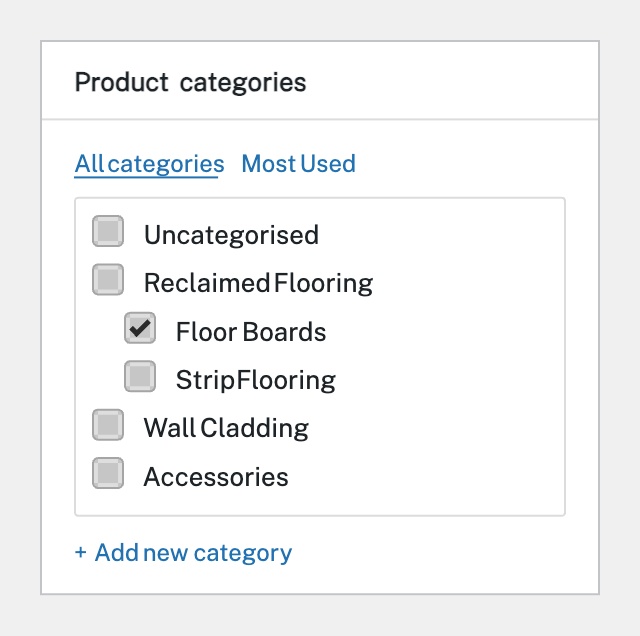
In the right-hand sidebar, find the Product categories box. Tick the categories this product belongs to — you can assign it to multiple categories. Below that, use the Product tags box to add relevant tags (like ‘sale’, ‘new arrival’, or ‘bestseller’). Categories and tags help customers browse and filter your products.
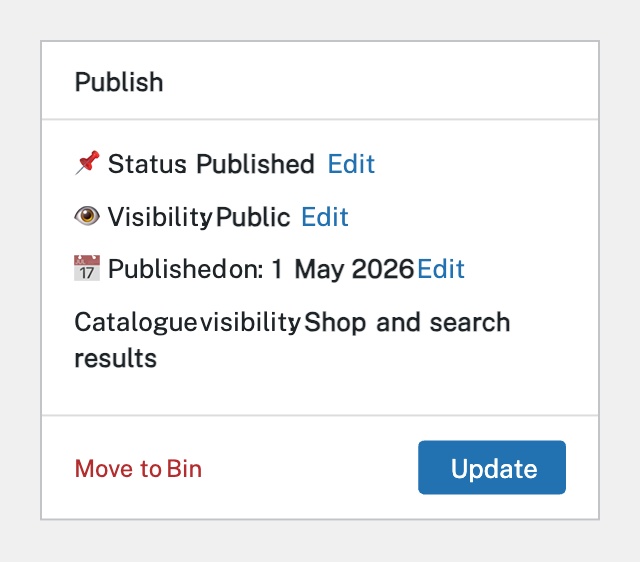
Once you’ve filled in all the details, use the Publish box in the top-right corner. You can set the Status (Published or Draft), Visibility (Public, Password protected, or Private), and the publish date. When you’re ready, click the blue Publish button to make the product live on your store. You can always come back and edit it later.
Completed
If you are still experiencing issues, our support team is here to help.
Was this article helpful?