Gravity Forms
Go to Forms → select your form → Settings → Confirmations. You’ll see a Default Confirmation already set up. Click Edit to modify it.

Select from three options: Text (shows a message on the same page), Page (redirects to a WordPress page), or Redirect (sends the user to any URL). For most forms, Text or Page work best.
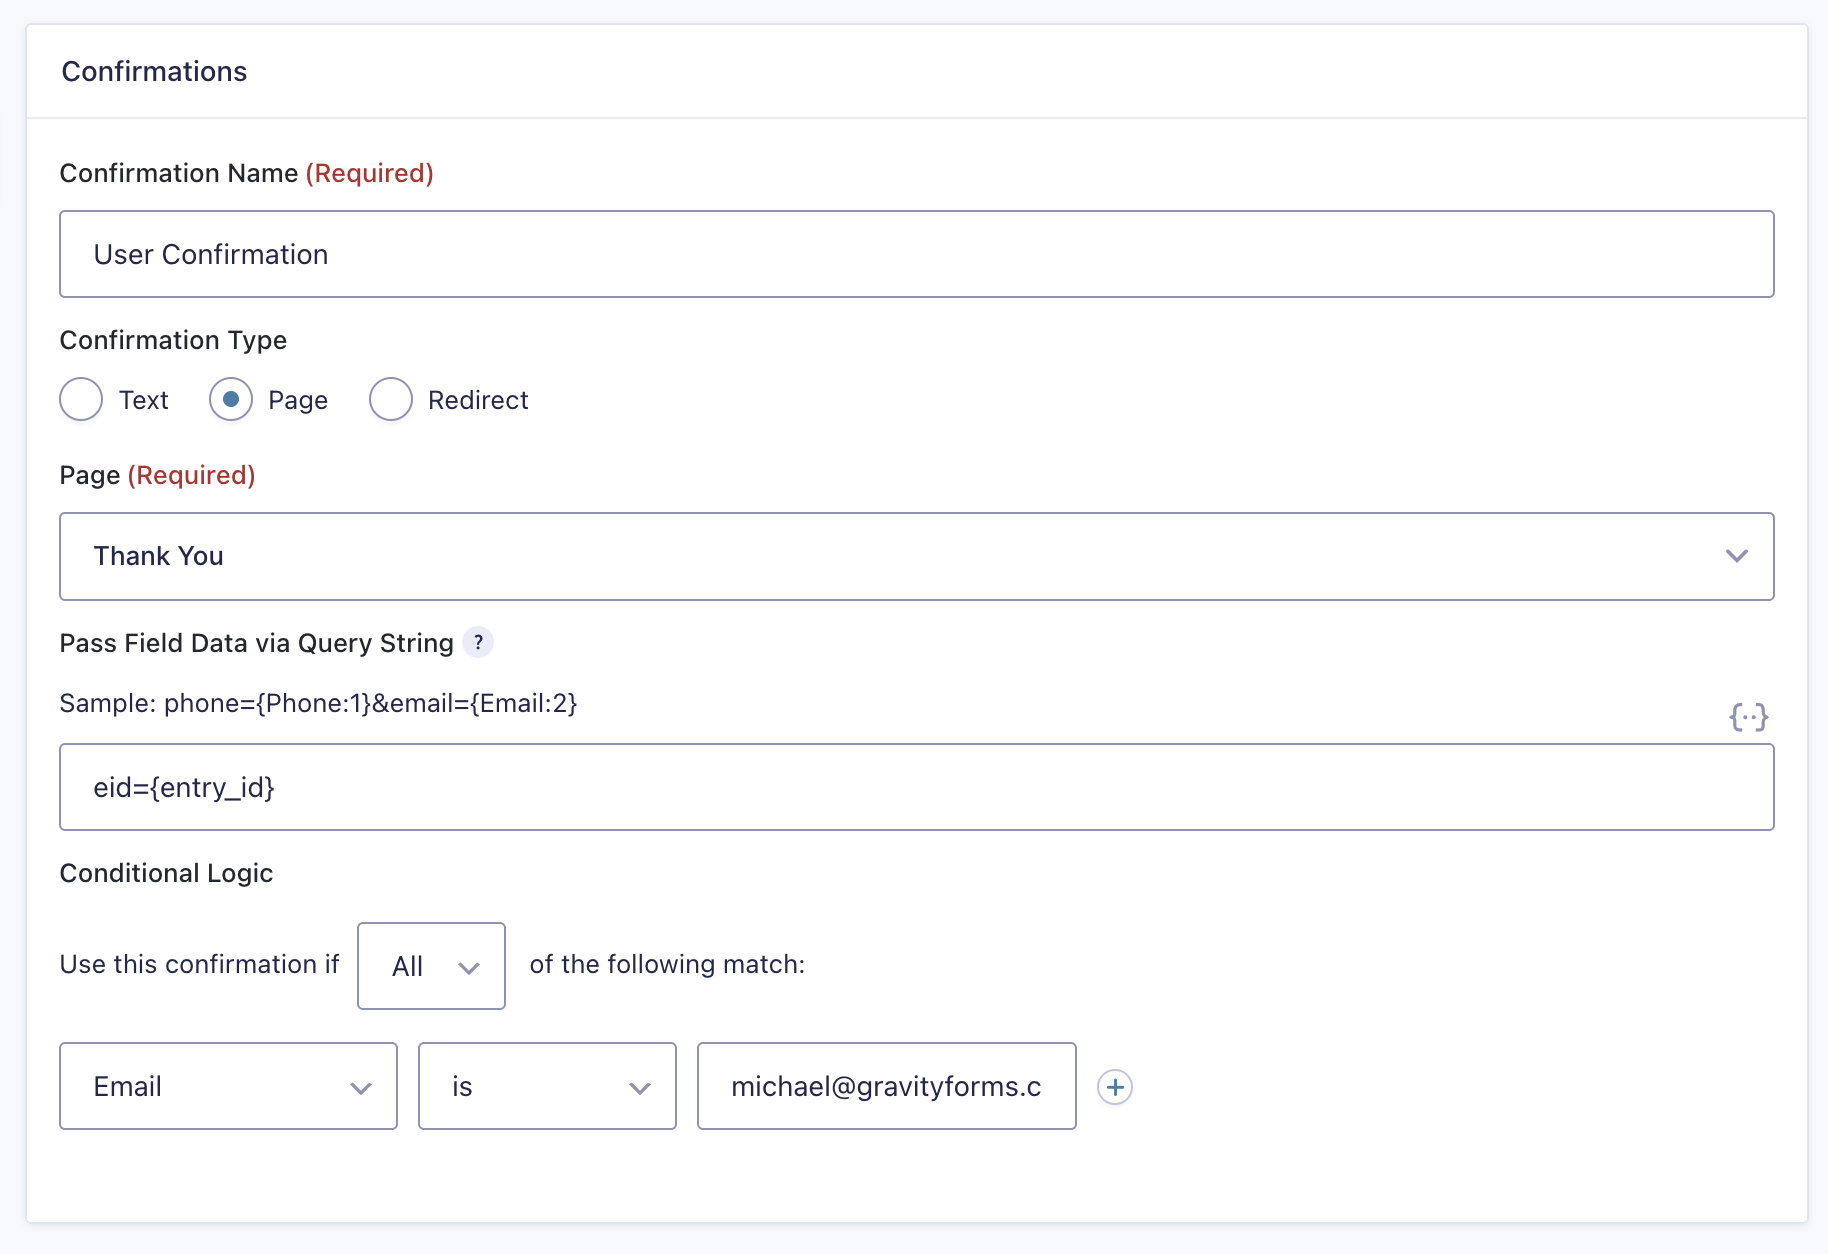
If you chose Page or Redirect, create a dedicated thank-you page first. Go to Pages → Add New, title it (e.g. “Thank You”), add a confirmation message, and publish. Then return to the confirmation settings and select that page from the dropdown.
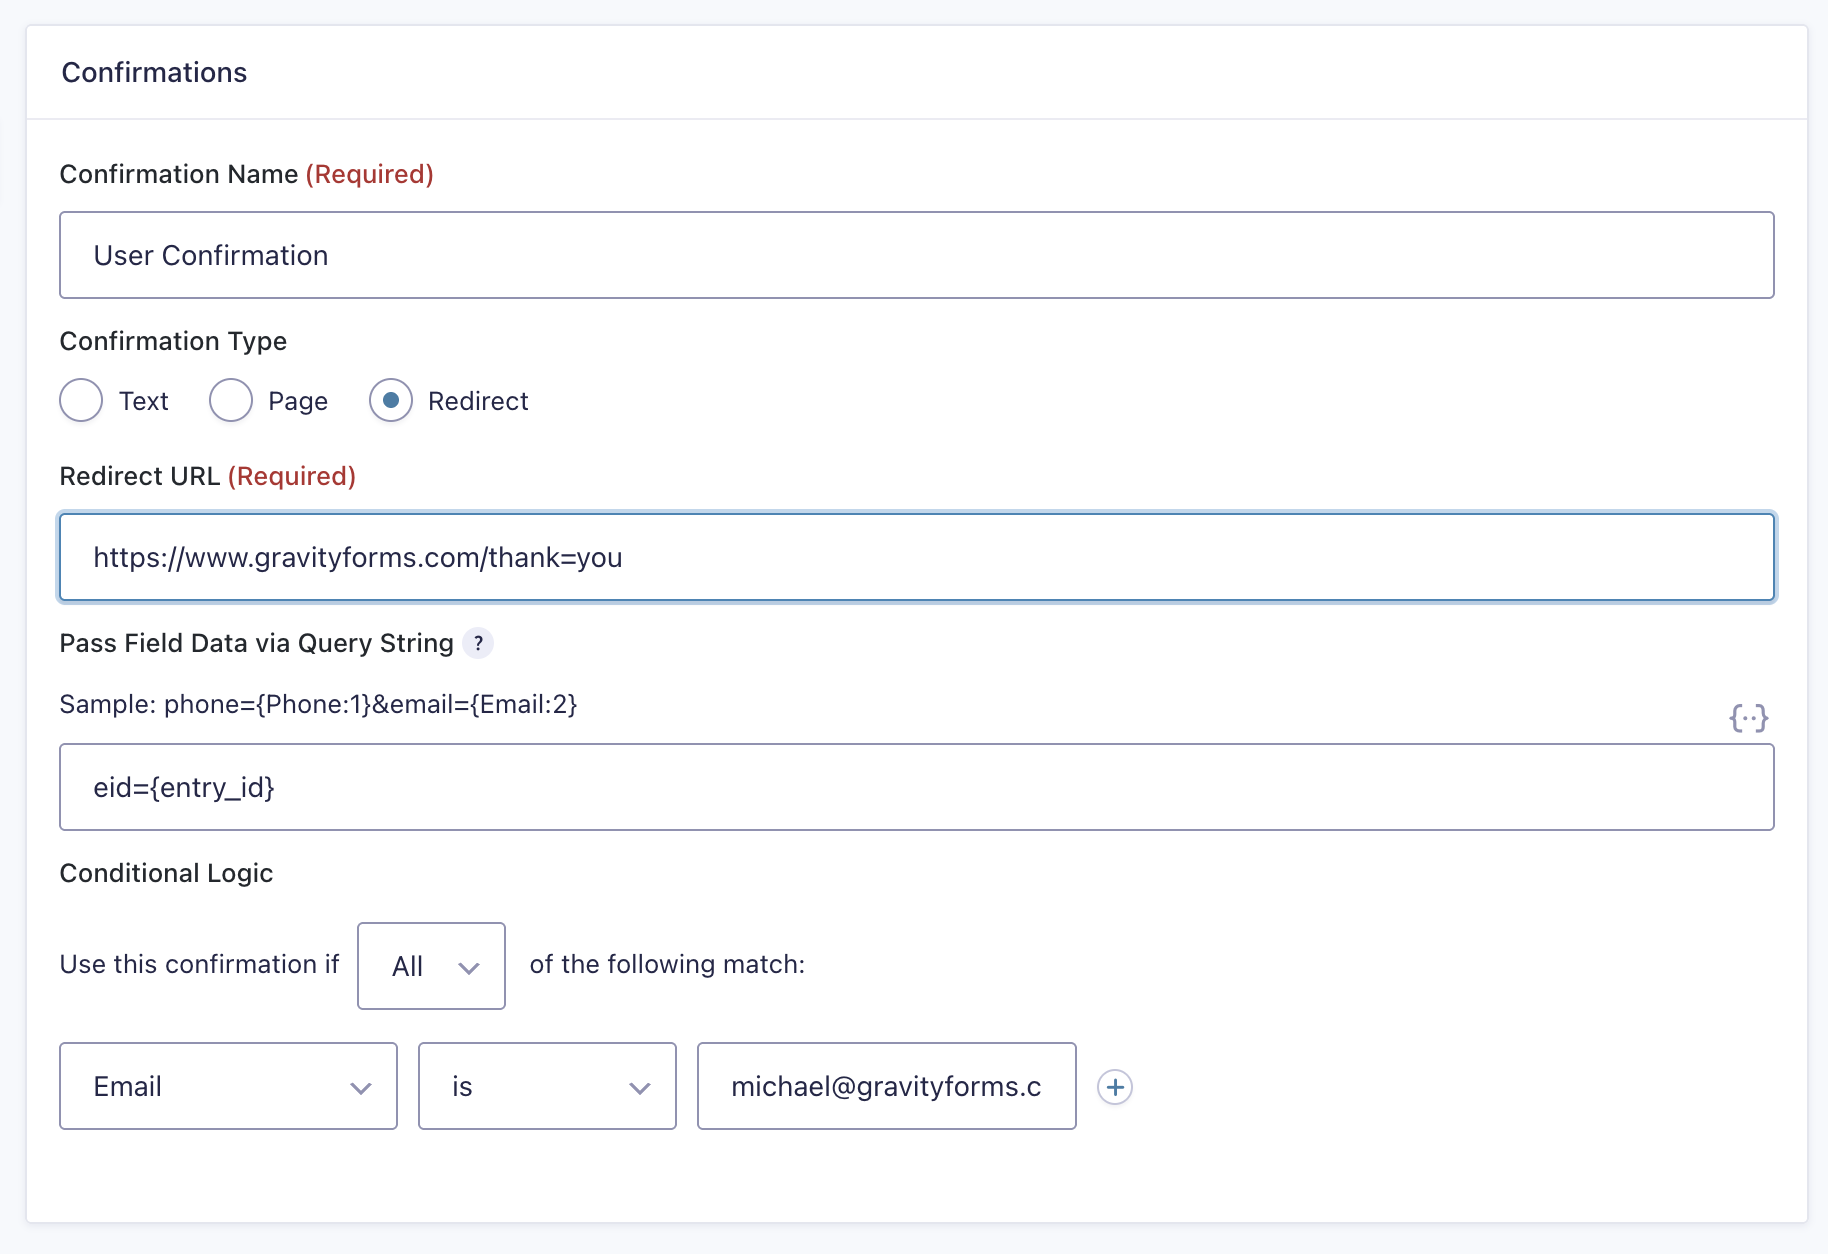
Click Add New in the Confirmations list to create additional confirmations triggered by specific conditions — for example, showing a different message depending on which option a visitor selected in a dropdown. Set the condition using the Conditional Logic section.
Completed
If you are still experiencing issues, our support team is here to help.
Was this article helpful?