WPForms
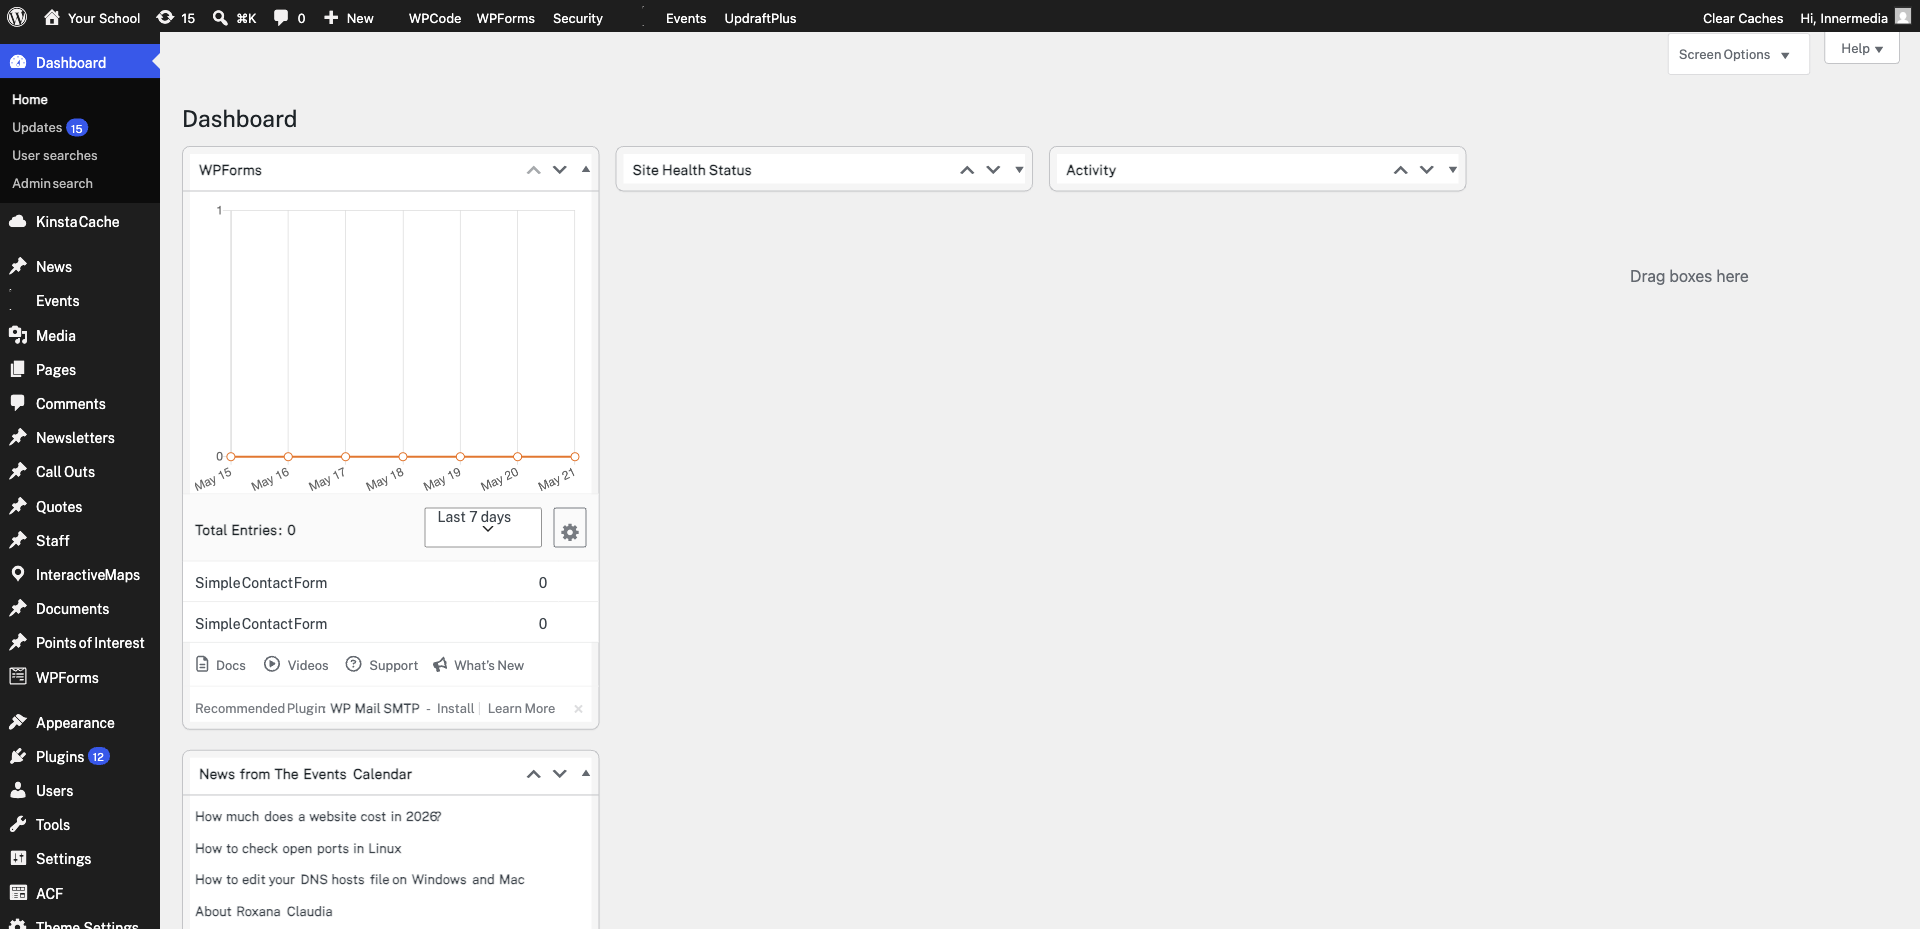
Open your form in the WPForms builder and go to Settings → Confirmations. The Default Confirmation is already set up. Click it to edit.

Select from three types: Message (shows text on the same page), Show Page (redirects to a WordPress page), or Go to URL (redirects to any link). Message is simplest; Show Page is best if you want to track conversions with analytics.
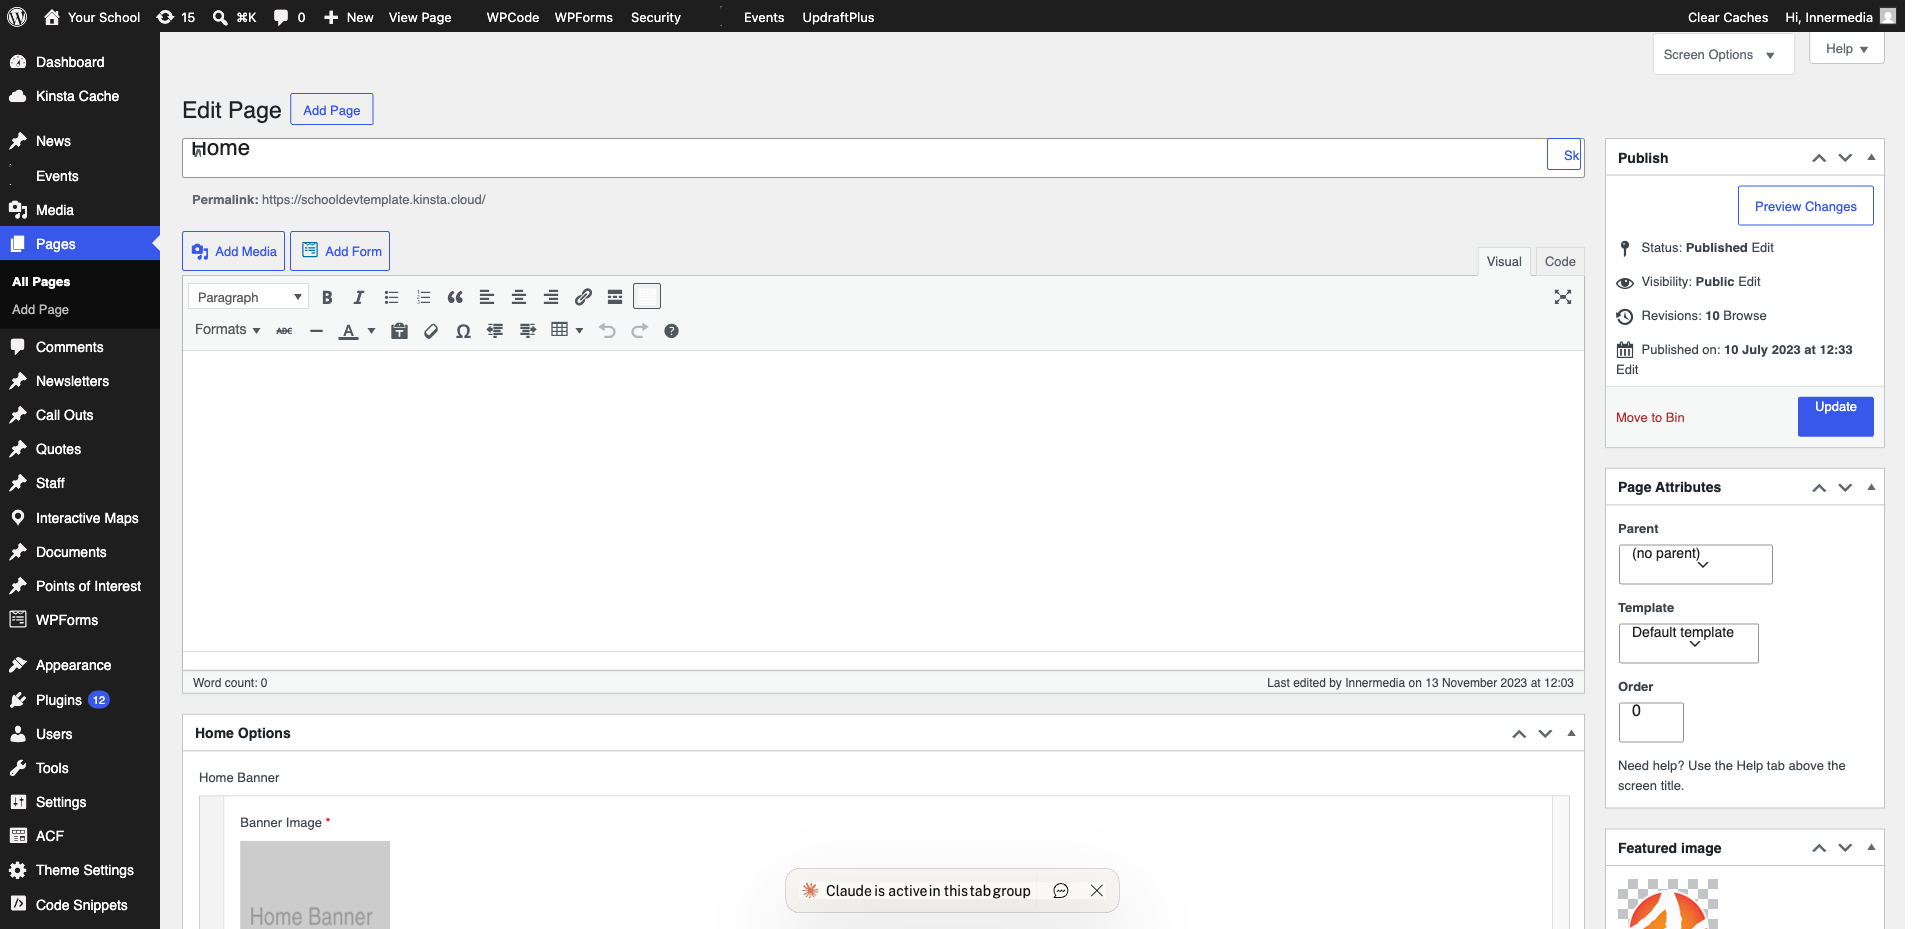
If you chose Show Page or Go to URL, create your thank-you page first. Go to Pages → Add New, title it (e.g. “Thank You”), add your confirmation content, and publish. Then return to the form’s confirmation settings and select that page.
Click Add New Confirmation to create extra confirmations triggered by conditions — for example, showing a different message based on a dropdown selection. Set the conditions using the Conditional Logic section, then save.

Completed
If you are still experiencing issues, our support team is here to help.
Was this article helpful?