Changing Images in Elementor
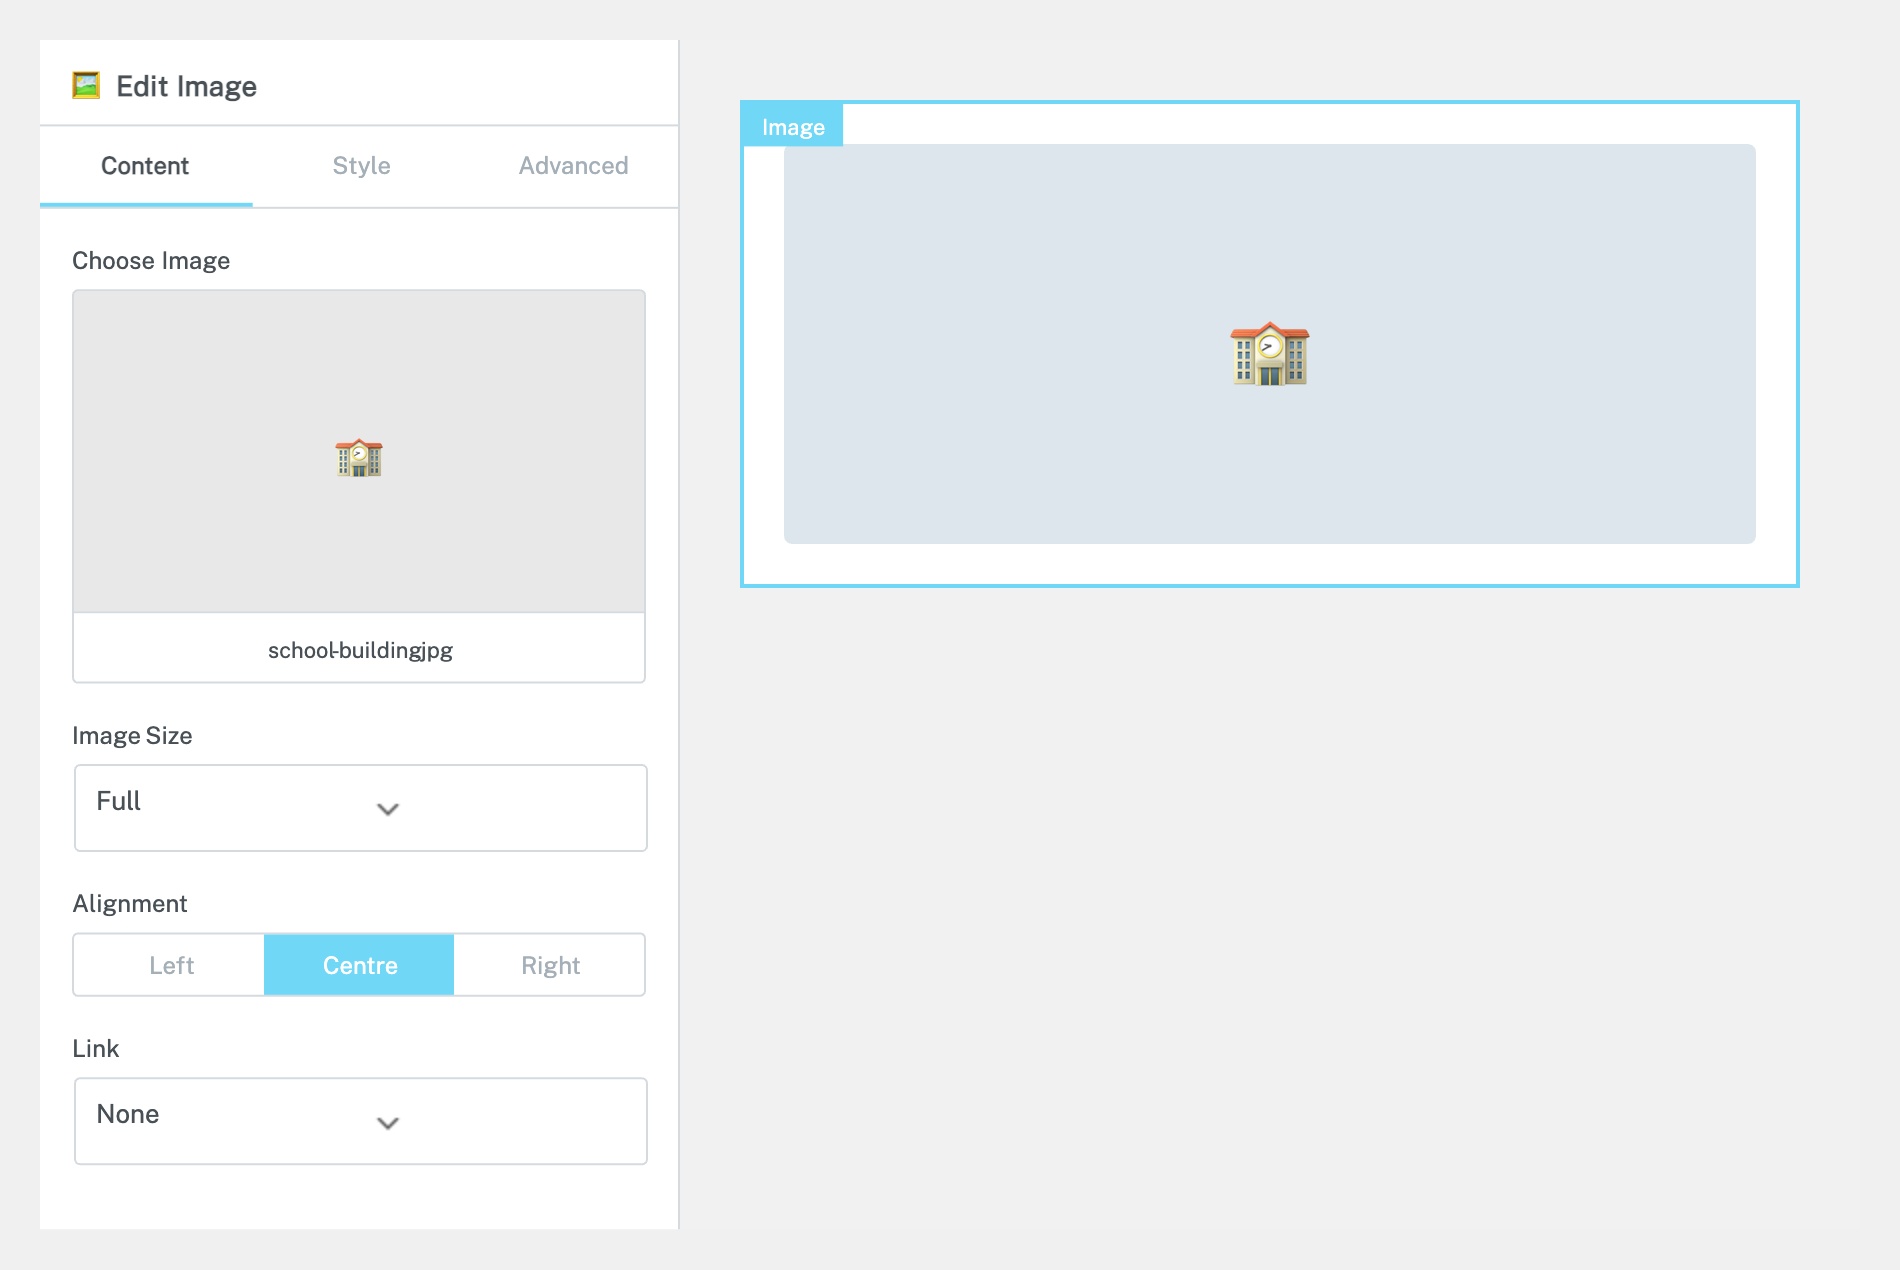
Click on the image you want to change in the page preview. The left panel will switch to the Image widget settings, showing the current image thumbnail and options under the Content tab. You’ll see the image preview, size dropdown, alignment controls, and link settings.
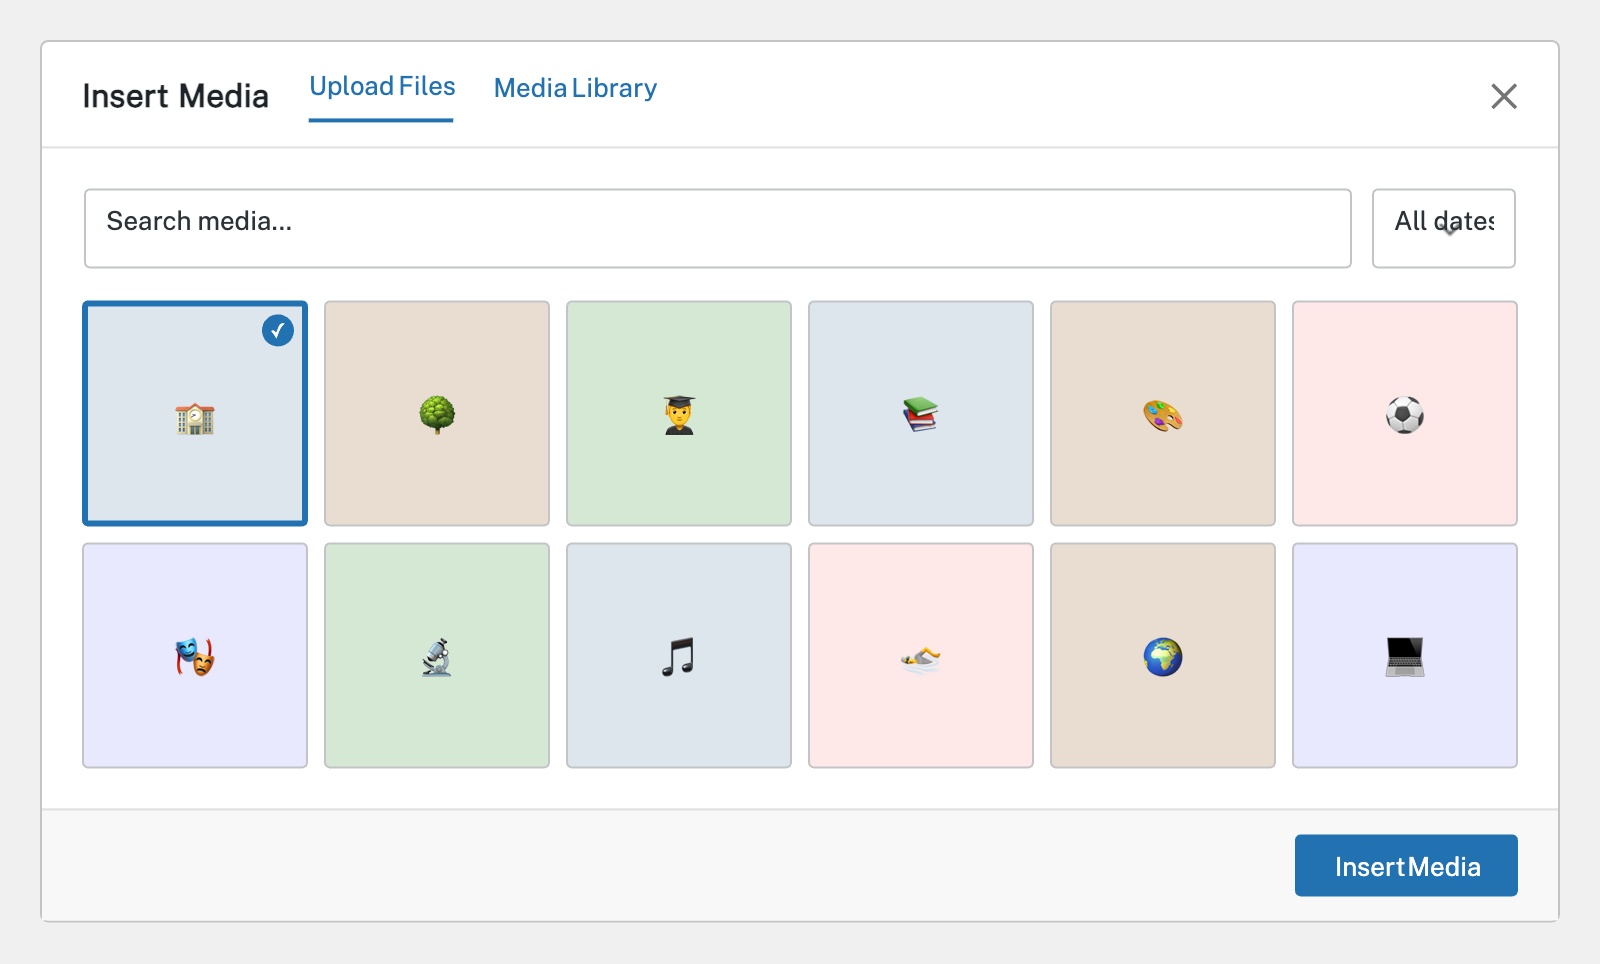
In the Content tab, click the current image thumbnail or the Choose Image button. This opens the WordPress Media Library. You can either:
Select an existing image — Browse or search the Media Library for the image you want.
Upload a new image — Click the Upload Files tab in the top-left and drag your new image in, or click Select Files to browse your computer.
Once selected, click the Insert Media button to apply the new image.
After inserting the image, adjust its settings in the left panel:
Image Size — Choose from Thumbnail, Medium, Large, or Full. Full is recommended for hero images; Medium works for smaller in-page images.
Alignment — Set the image to left, centre, or right aligned.
Link — Set what happens when a visitor clicks the image — None, Media File (opens in a lightbox), or Custom URL.
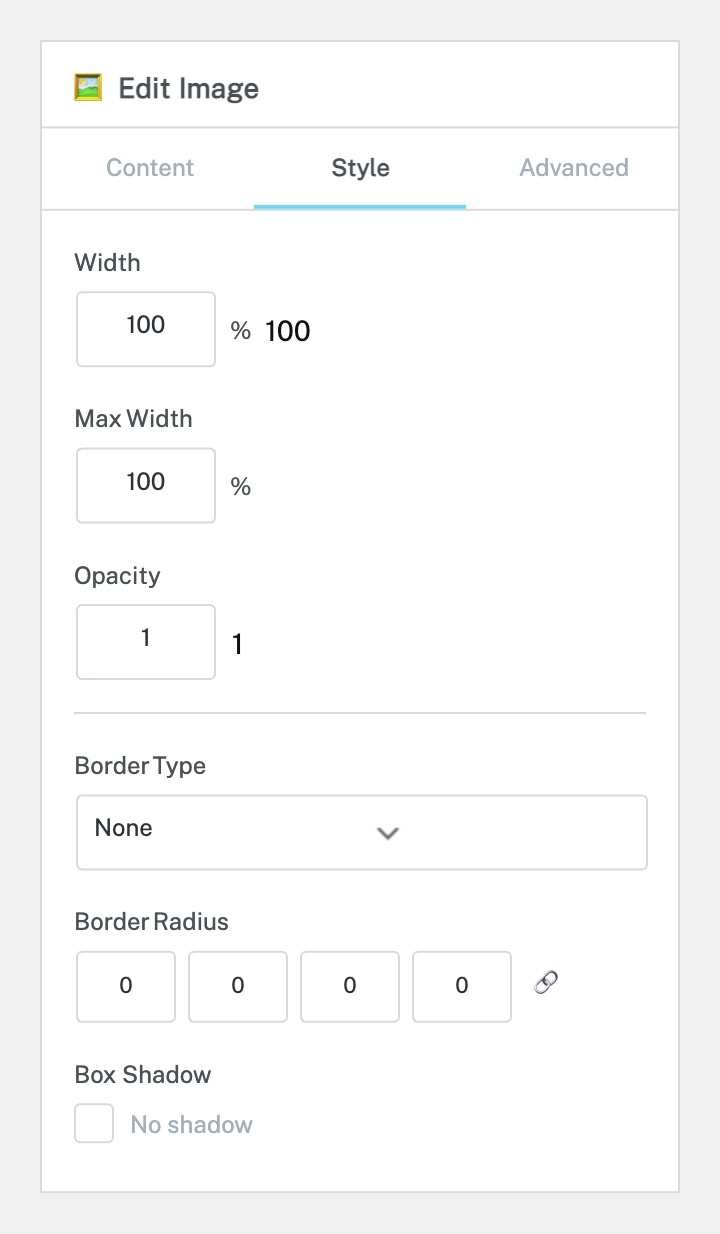
Click the Style tab to access visual options:
Width / Max Width — Control how much space the image takes up.
Opacity — Reduce to make the image semi-transparent.
Border & Border Radius — Add a border or round the corners.
Box Shadow — Add a subtle shadow behind the image.
Click Update to save your changes when finished.
Completed
If you are still experiencing issues, our support team is here to help.
Was this article helpful?