Managing Customers
Go to WooCommerce → Customers in the admin sidebar. This opens a table showing all registered customers with columns for Name, Username, Email, Location, Orders (total number of orders placed), and Total spend. You can search for specific customers using the search bar at the top.
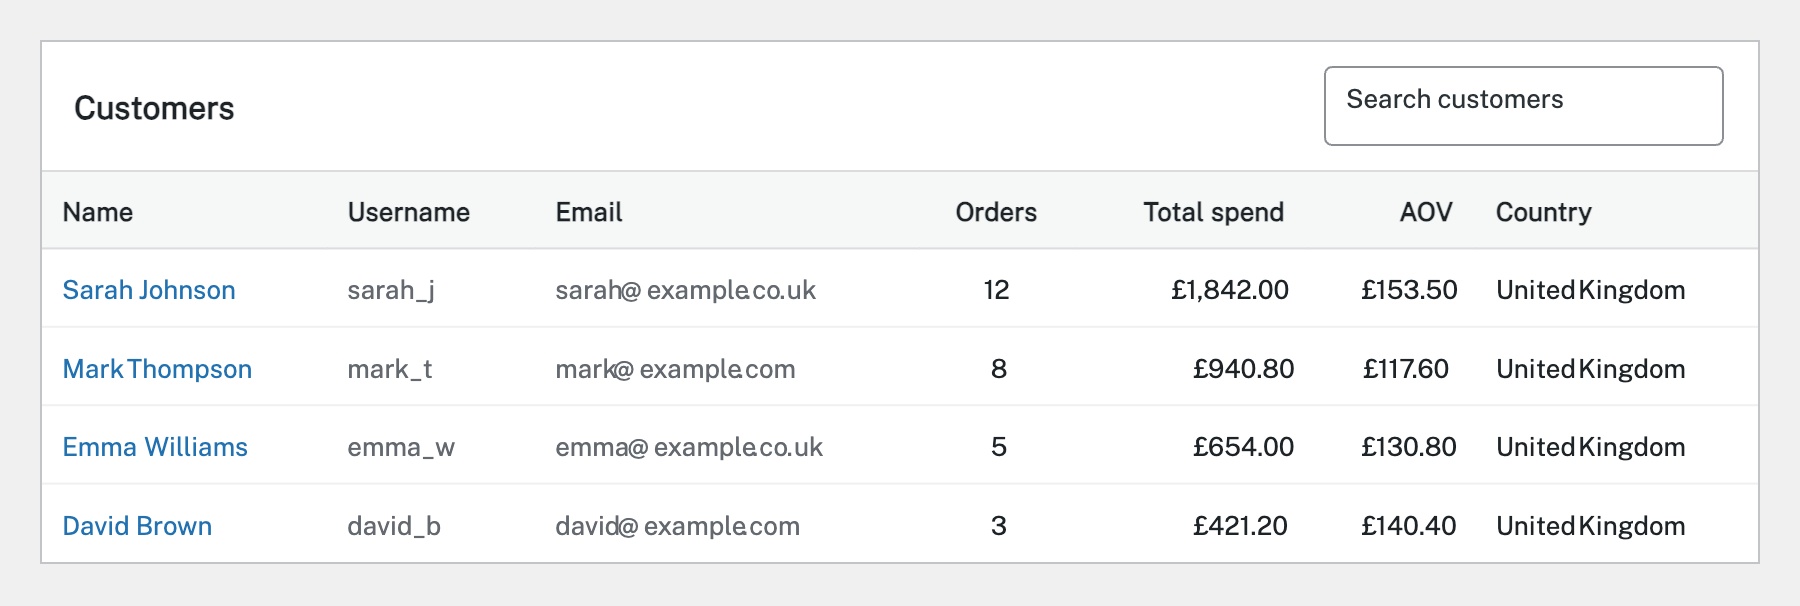
Use the search bar at the top to find customers by name, email, or username. You can also sort the table by clicking column headers — for example, click Total spend to see your highest-value customers, or Orders to find your most frequent buyers. The Date registered filter helps you find recently joined customers.
Click any customer name to view their full profile. This shows their billing and shipping addresses, order history (with links to each order), and account details. From here you can see a complete picture of their purchase behaviour — what they’ve bought, how often, and how much they’ve spent.
To edit a customer’s details, click their name to open the profile, then click Edit. You can update their billing address, shipping address, email, and other account details. This is useful if a customer contacts you to update their address or if you need to correct a typo. Changes here don’t affect existing orders — only future ones.
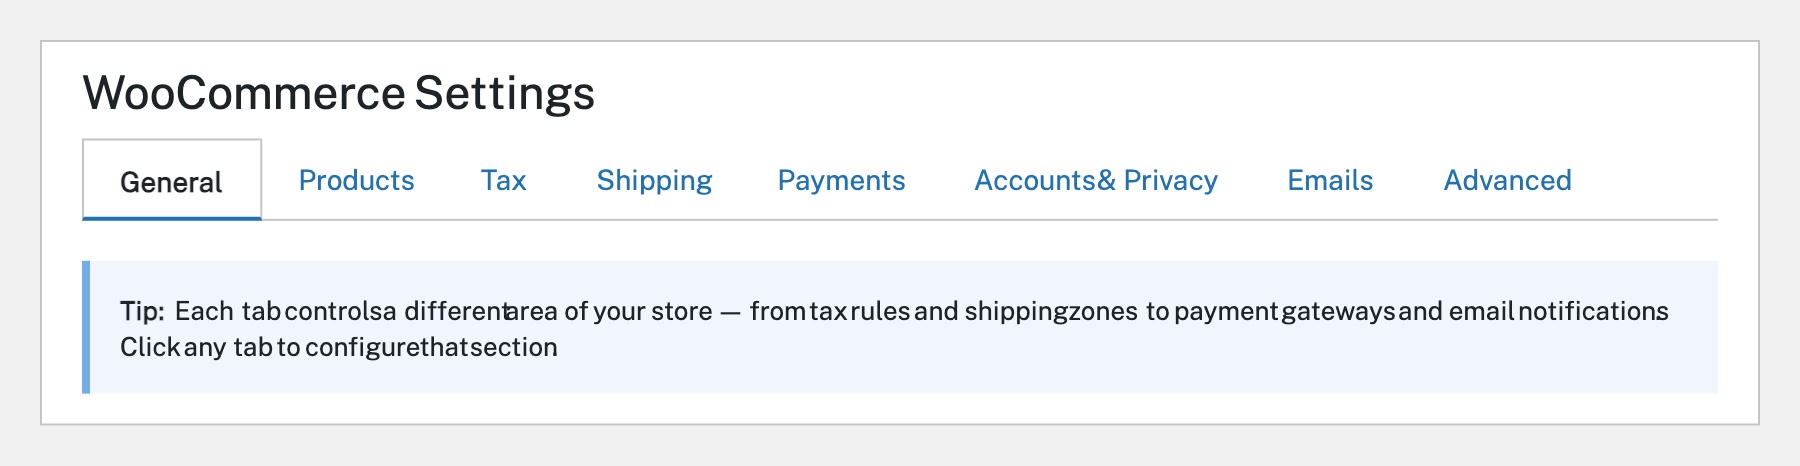
WooCommerce supports both registered customers (who create accounts) and guest checkout (no account required). You control this in WooCommerce → Settings → Accounts & Privacy. Registered customers appear in the Customers list and can log in to view order history and manage addresses. Guest checkout reduces friction but means you have less customer data to work with.
Completed
If you are still experiencing issues, our support team is here to help.
Was this article helpful?