Setting Up Google Analytics
Go to analytics.google.com and sign in with your Google account. Click ‘Start measuring’ and follow the setup wizard — enter your school name, website URL, and select your industry and timezone.
After setup, you will receive a Measurement ID (starts with G-). Copy this code. You will also see a Global Site Tag (gtag.js) script — keep this page open.
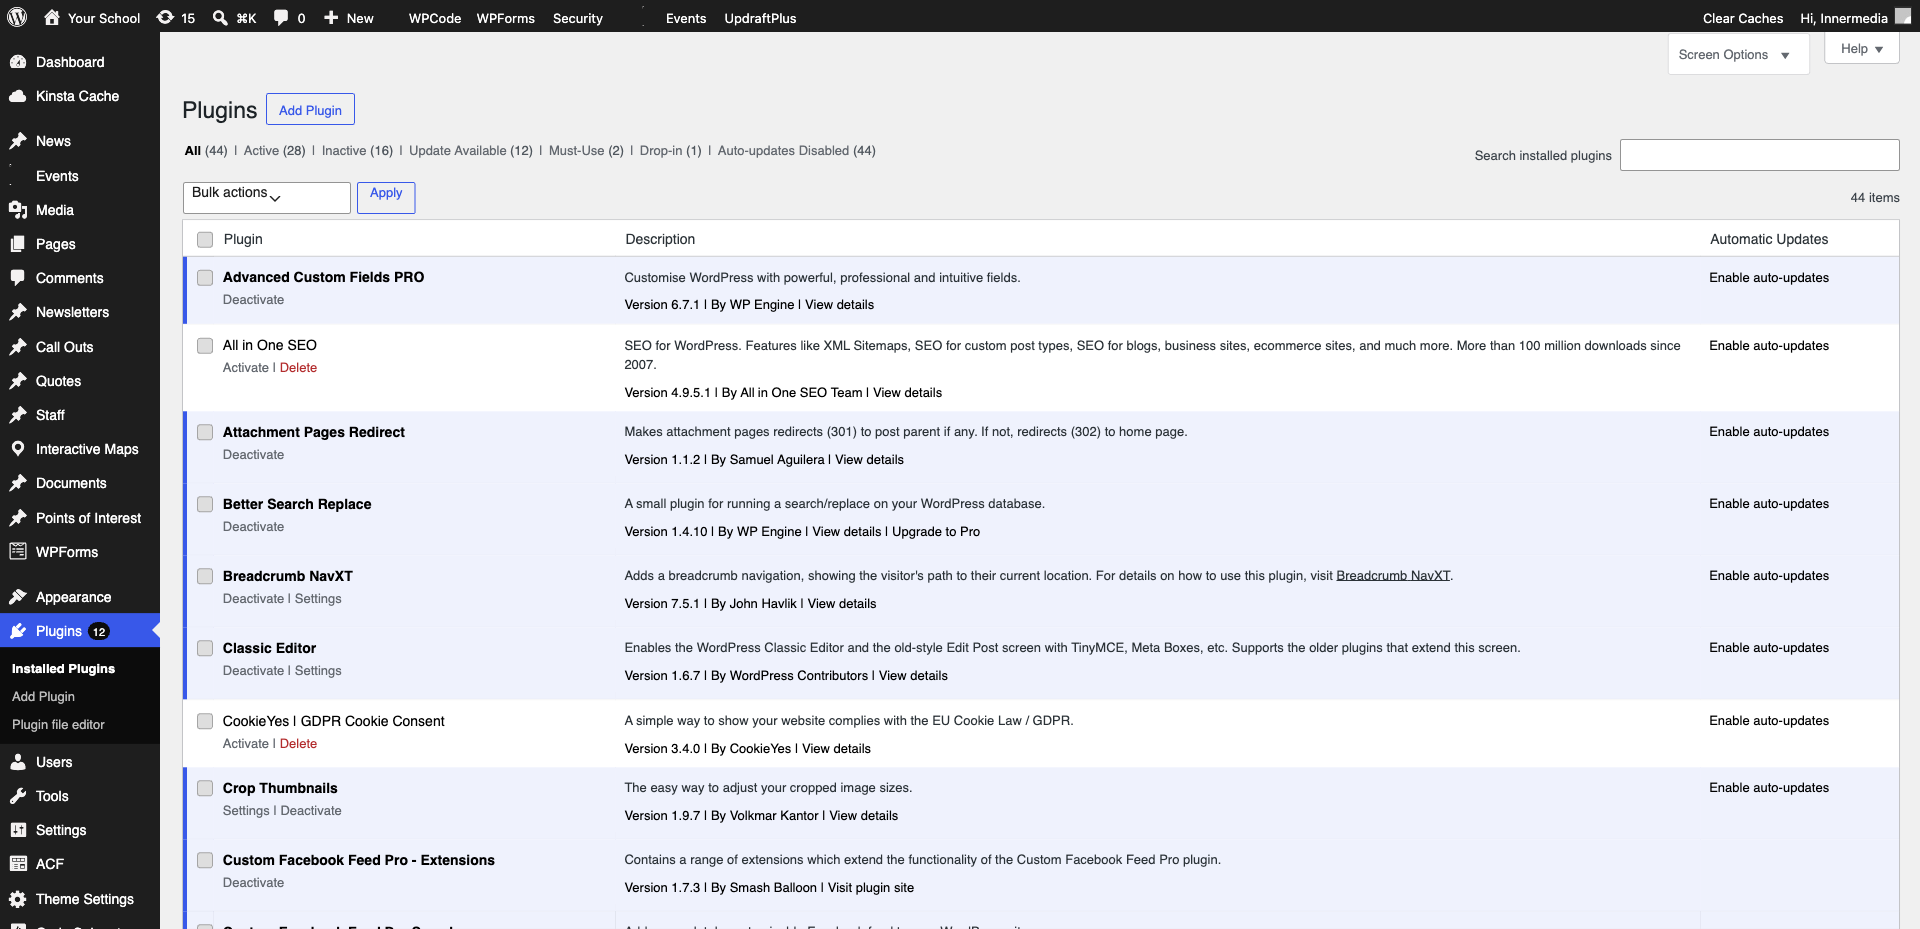
The easiest method is using a plugin like Site Kit by Google or Google Analytics for WordPress by MonsterInsights. Install the plugin, authenticate with your Google account, and it will automatically add the tracking code to every page.
Wait 24–48 hours, then check your Google Analytics dashboard. You should see visitor data coming through. Use the Real-Time report to verify immediately — visit your site in another browser and you should see yourself as an active user.

Completed
If you are still experiencing issues, our support team is here to help.
Was this article helpful?