Support Base
Contact Support
Back
Images & Media

Fix image crops that won't apply after optimisation

Step 0 of 6 completed
1
Log in to your admin area

Navigate to yourwebsite.co.uk/wp-admin in your browser and log in with your username and password. If you’re already logged in, you can skip this step.

Log in to your admin area
Pro Tip
Bookmark your /wp-admin URL so you can access it quickly in future.
2
Go to Media in the left-hand menu

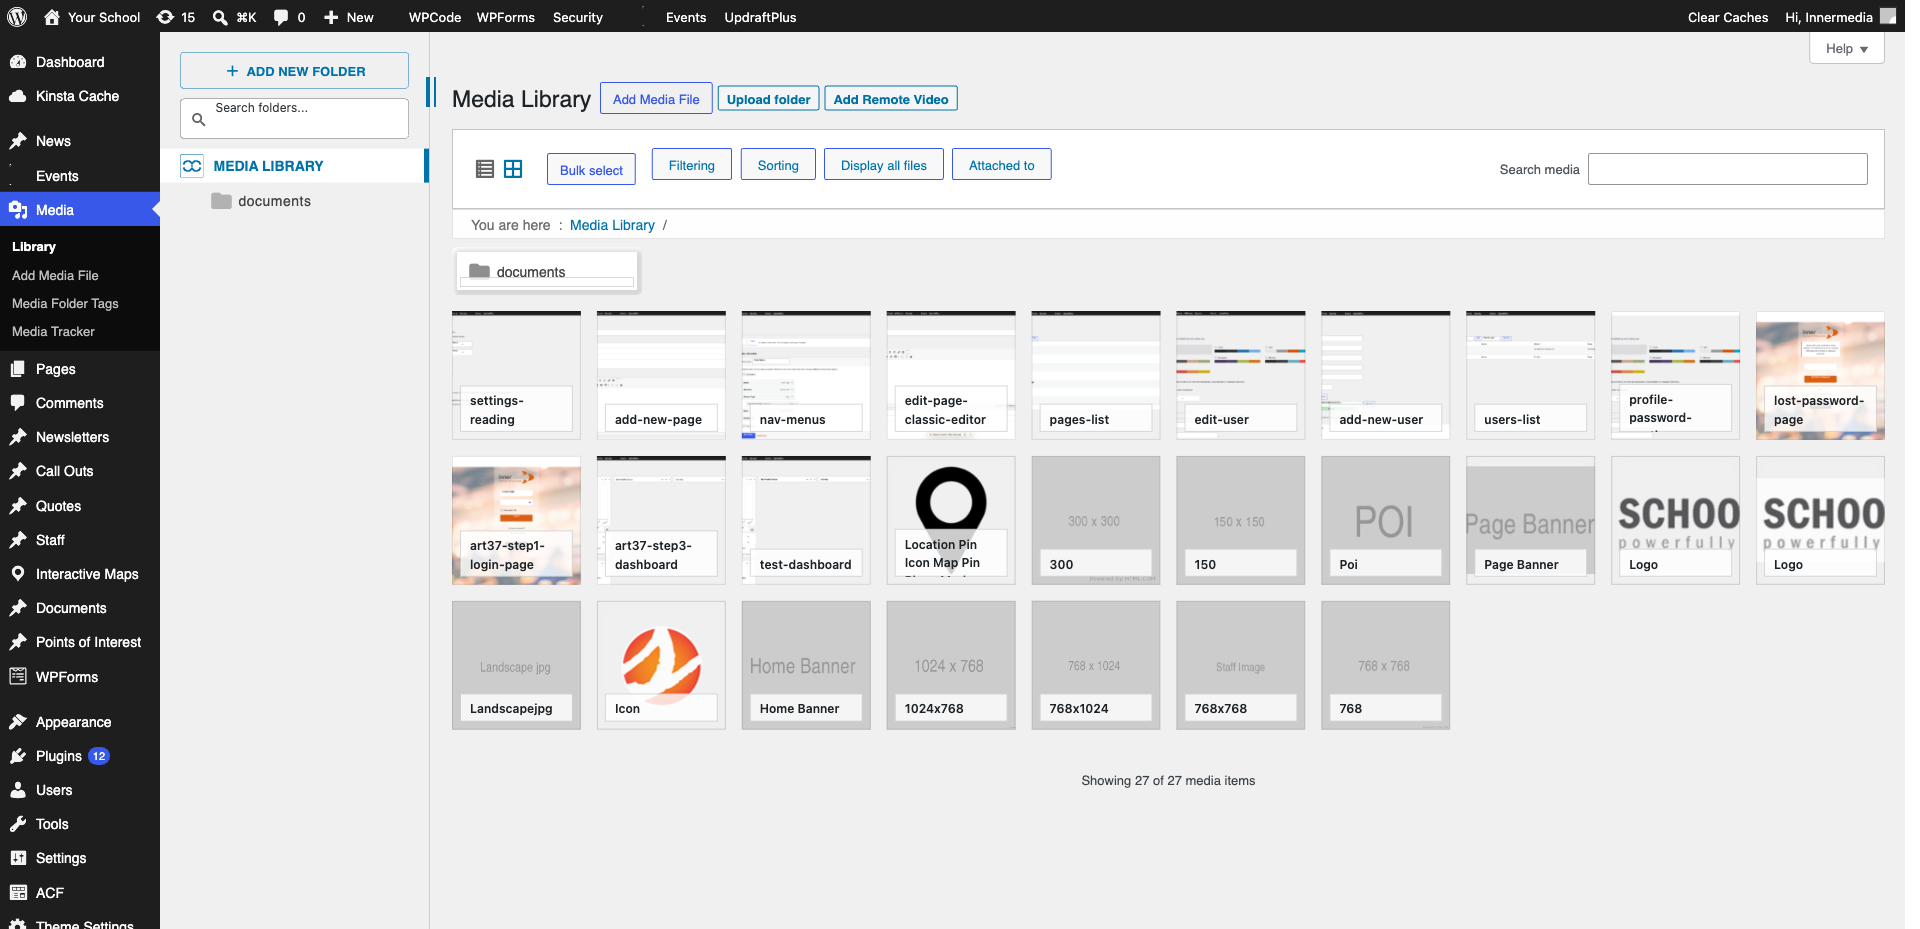
In the WordPress admin sidebar on the left, click Media. This opens the Media Library where all your uploaded images and files are stored.

Go to Media in the left-hand menu
Pro Tip
You can also click Media โ†’ Library if you see a submenu.
3
Find and open the image

Browse or search for the image that isn’t cropping correctly. Click on it to open the Attachment Details view, then click Edit Image.

Find and open the image
Pro Tip
Use the search bar at the top right of the Media Library to find images by filename.
4
Click Restore Original

In the image editor, look for the Restore Original Image section on the right-hand side. Click Restore Original to reset the image to its unedited state.

Click Restore Original
Warning
This will undo all previous edits (crops, rotations, scaling). You'll need to re-apply any changes you want to keep.
5
Apply your desired crop

Once restored, select the Crop tool, drag the handles to define your crop area, then click Save Crop.

Apply your desired crop
Pro Tip
Hold Shift while dragging to maintain a square crop ratio.
6
Save the changes

Click Update to save the image. The new crop should now display correctly on your website.

Save the changes
Pro Tip
If your site uses a caching plugin, clear the cache to see the updated image immediately.

Completed

If you are still experiencing issues, our support team is here to help.

Email Support 01707 875 721

Was this article helpful?